· 6 min read
How to Review Your Listing Photos Before They Go Live: A Revision Checklist
Your edited photos land in your inbox, the seller is asking when the listing goes live, and it is tempting to upload everything straight to the MLS. Take fifteen minutes first. A short, focused review catches the small things that buyers notice and sellers point out later: a crooked doorframe, a forgotten towel, a kitchen that looks warmer in one shot than the next.
This post gives you a simple way to review a delivered set, decide what needs a revision, and ask for changes so they come back right the first time.
Build the review into your timeline
Edited photos from Dooorbell arrive in as little as 18 hours, and most orders are delivered within 24 hours. That makes it easy to plan: schedule your review for the morning after the shoot, before you promise the seller a launch time. Revisions are unlimited at no extra charge, so there is no reason to publish a photo you are not happy with.
A good review happens in two passes:
- Pass one: the full set at a glance. Open everything as a grid or contact sheet. You are looking for consistency and coverage.
- Pass two: one photo at a time, full screen. You are looking for details.
Review on a laptop or larger screen if you can. Most buyers will see the photos on a phone, so do a final check there too, but small screens hide problems.
The technical checklist
These are the issues that make a photo look amateur even when the room is lovely. Go through each image and ask:
- Are the verticals straight? Door frames, window edges and wall corners should run straight up and down, not lean in or out.
- Is the horizon level? Countertops, ceiling lines and exterior rooflines should not tilt.
- Can you see out the windows? A blown-out white window hides a view the seller is paying for. If the view matters, the window should show it.
- Are the whites actually white? Walls, ceilings and bedding should not look yellow, blue or green.
- Is the brightness consistent? One dark photo in a bright set makes buyers wonder what is wrong with that room.
- Are there odd edges? Look for halos around windows, smudged corners or stretched furniture near the frame edges.
If something looks off but you cannot name it, flag it anyway and describe what you see. "The ceiling in this one looks gray compared to the others" is plenty to work with.
Check color across the whole set
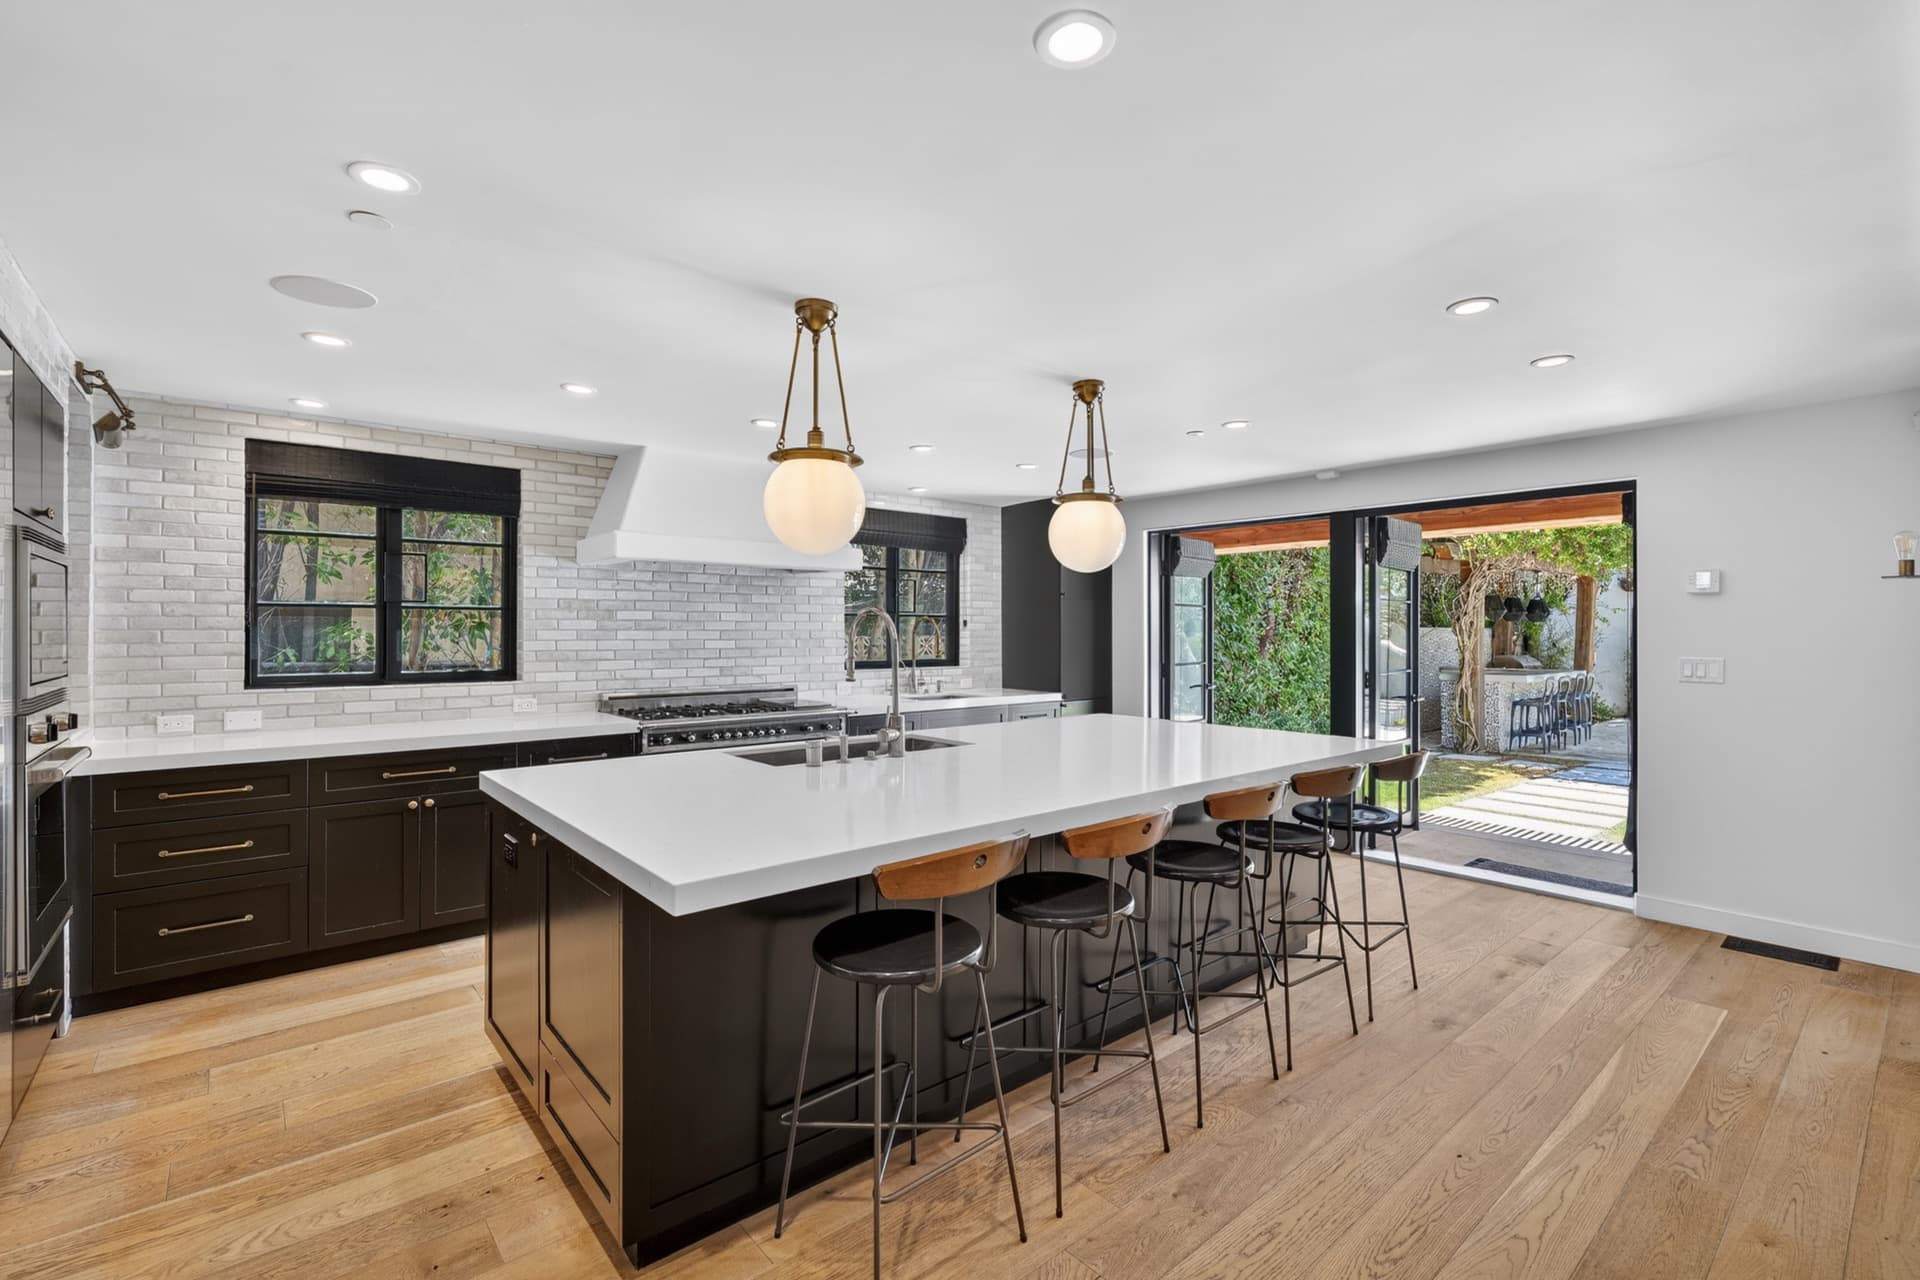
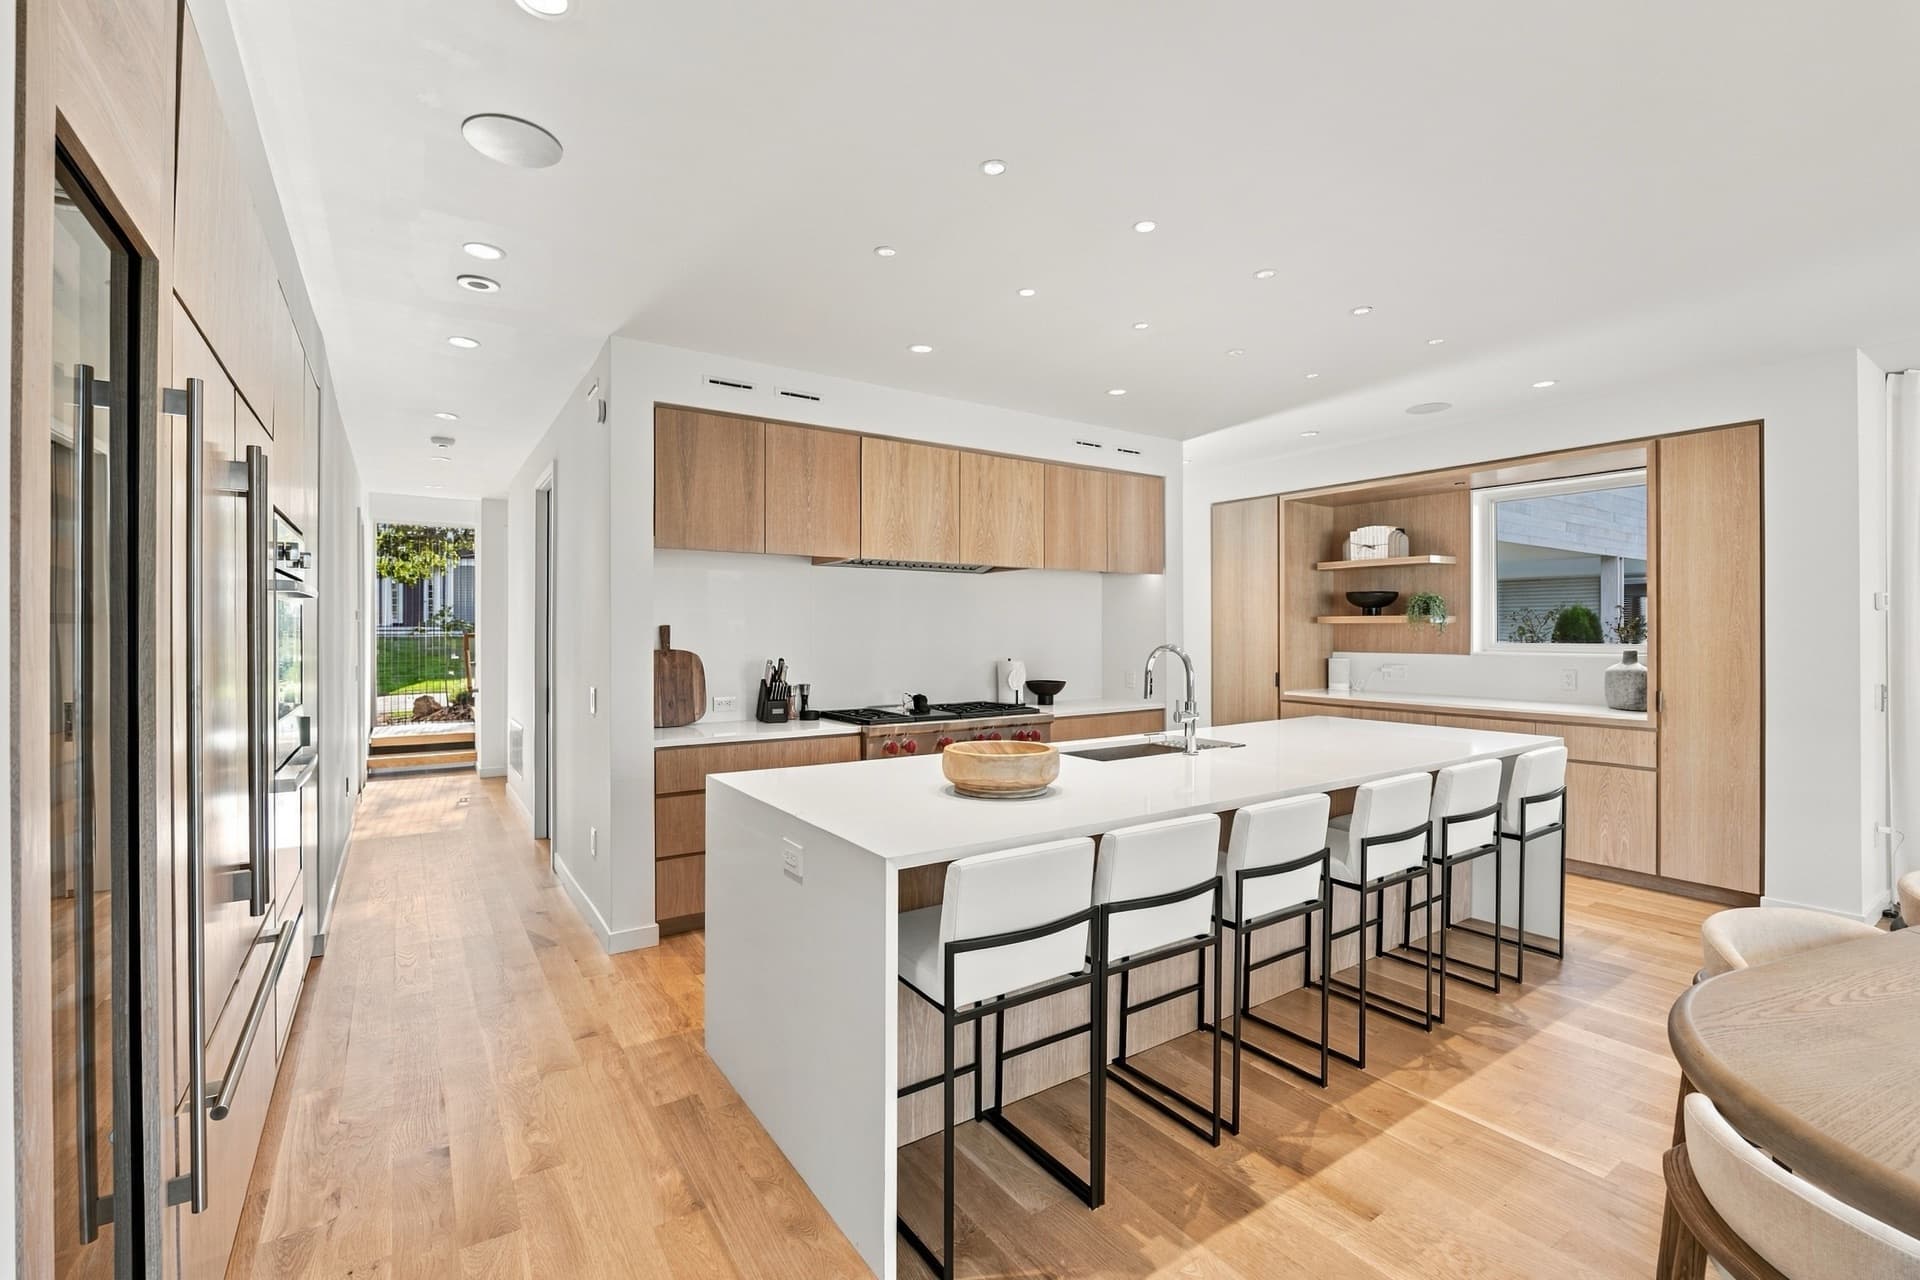
The pair test is the fastest way to catch color problems. Put two photos of the same room side by side, then two adjacent rooms. Cabinets, floors and wall paint should look like the same materials in every shot. If the oak floor reads honey in the living room and gray in the hallway, buyers will notice the mismatch before they notice the floor.
This matters most in kitchens and open-plan spaces, where several photos show the same finishes from different angles.
The content checklist
Next, look at what is in each photo rather than how it was captured. Even with good prep, a few things slip through on shoot day. Our room-by-room prep checklist covers most of them, and this is your chance to catch anything that was missed:
- Personal items: family photos, names on mail, kids' artwork, prescription bottles, laptop screens.
- Clutter: cords, chargers, trash cans, dish towels, toiletries on bathroom counters.
- Toilet seats that were left up.
- Reflections of the photographer or tripod in mirrors, glass doors or appliances.
- Lights that are off or bulbs that are out in an otherwise lit room.
- Anything the seller asked you not to show, like a security panel or a safe.
For each item, note whether it is a small cleanup or something bigger. Small objects are usually easy to address in editing. If the problem is the whole room, like an unmade bed or a cluttered table across the frame, ask whether a reshoot of that room makes more sense.
Keep it accurate
A review is also a check on honesty. Photos should make the home look its best, not different from what buyers will see at the showing. Do not ask for permanent features to be removed, views to be added or damage to be hidden. If rooms were virtually staged, make sure the staged images are labeled as such wherever your MLS and local rules require it, and consider including an unstaged version of key rooms.
Check coverage and order
Now go back to the grid view. Two questions:
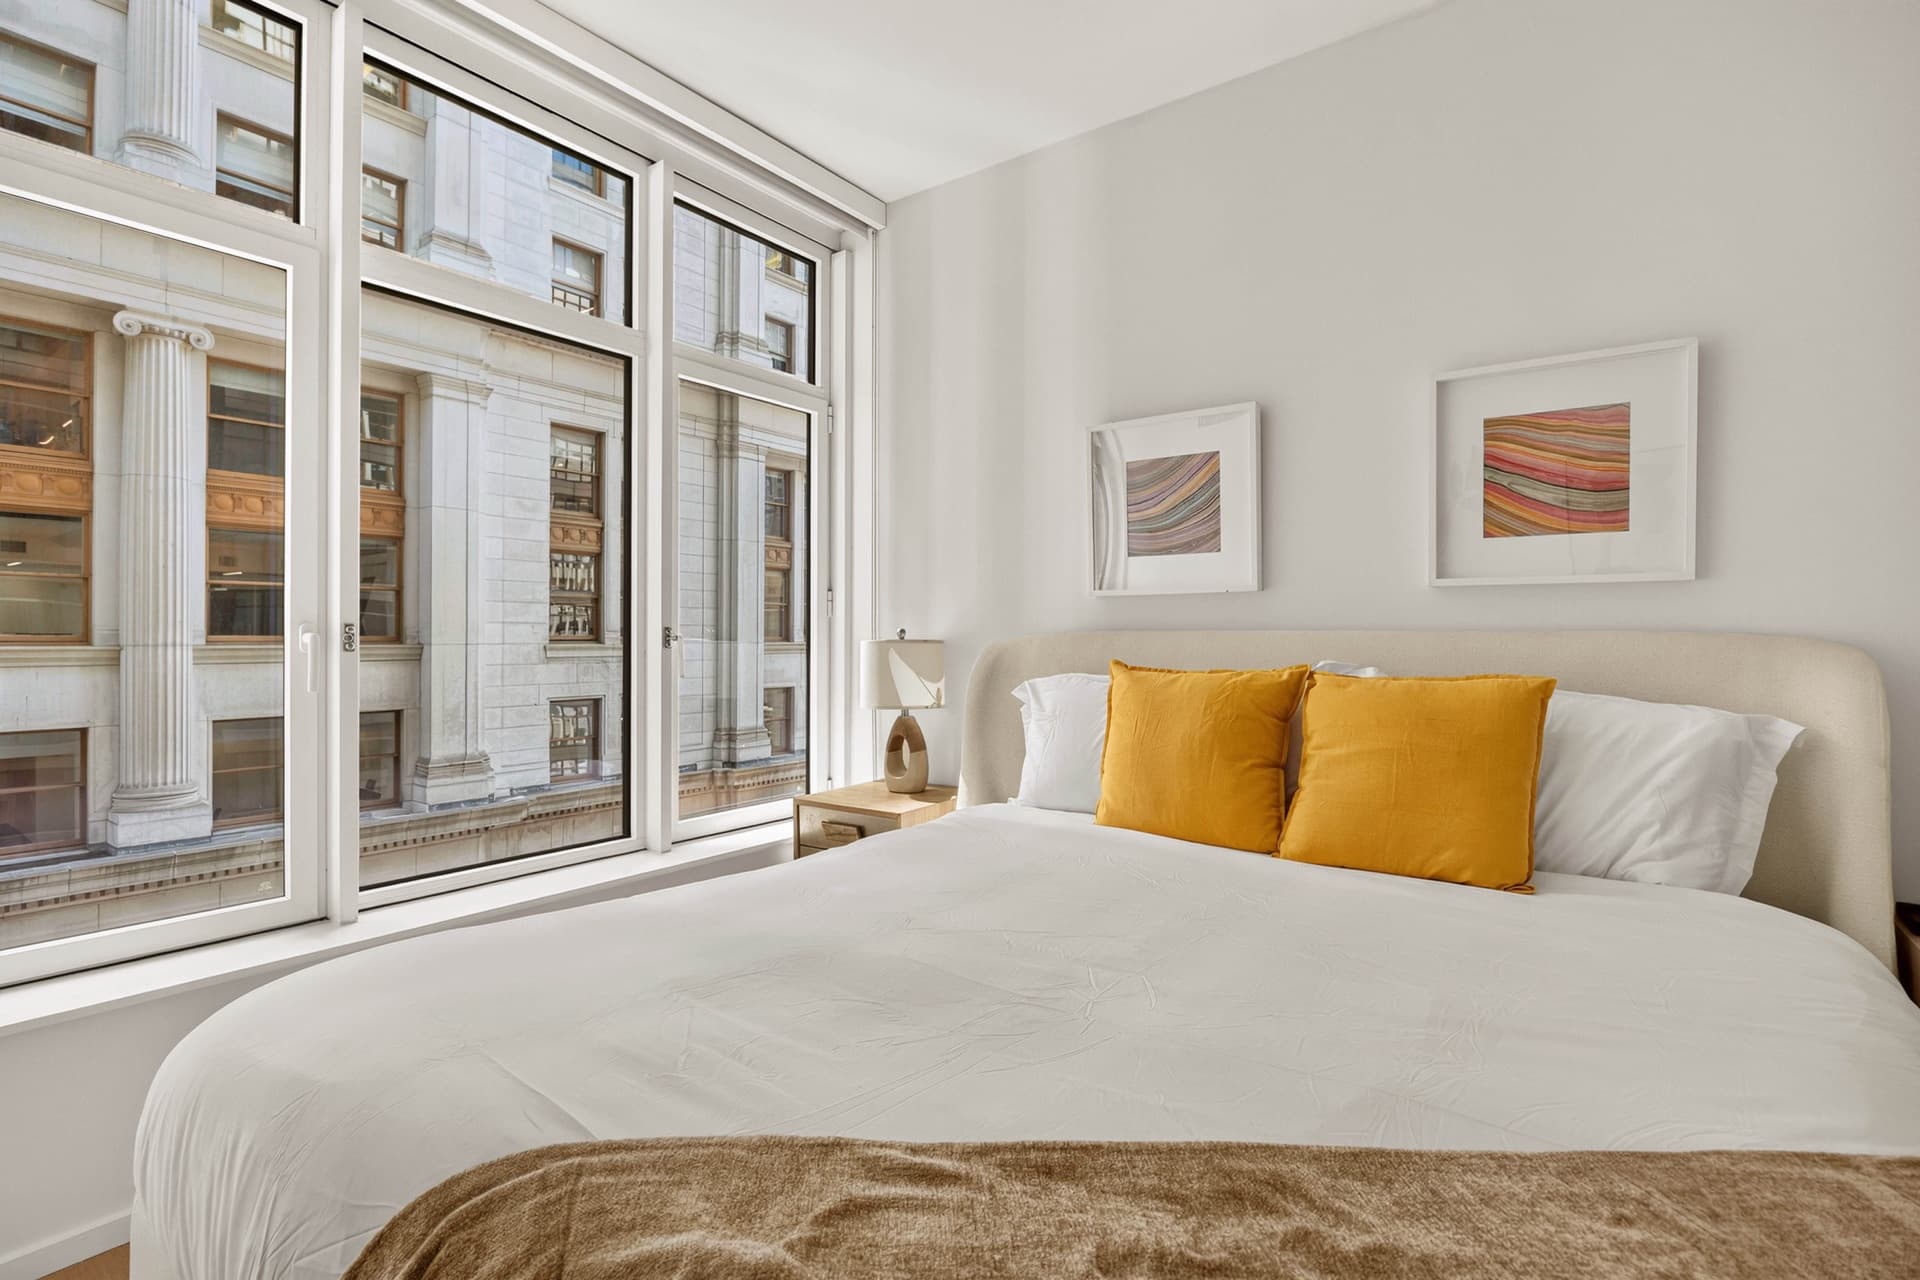
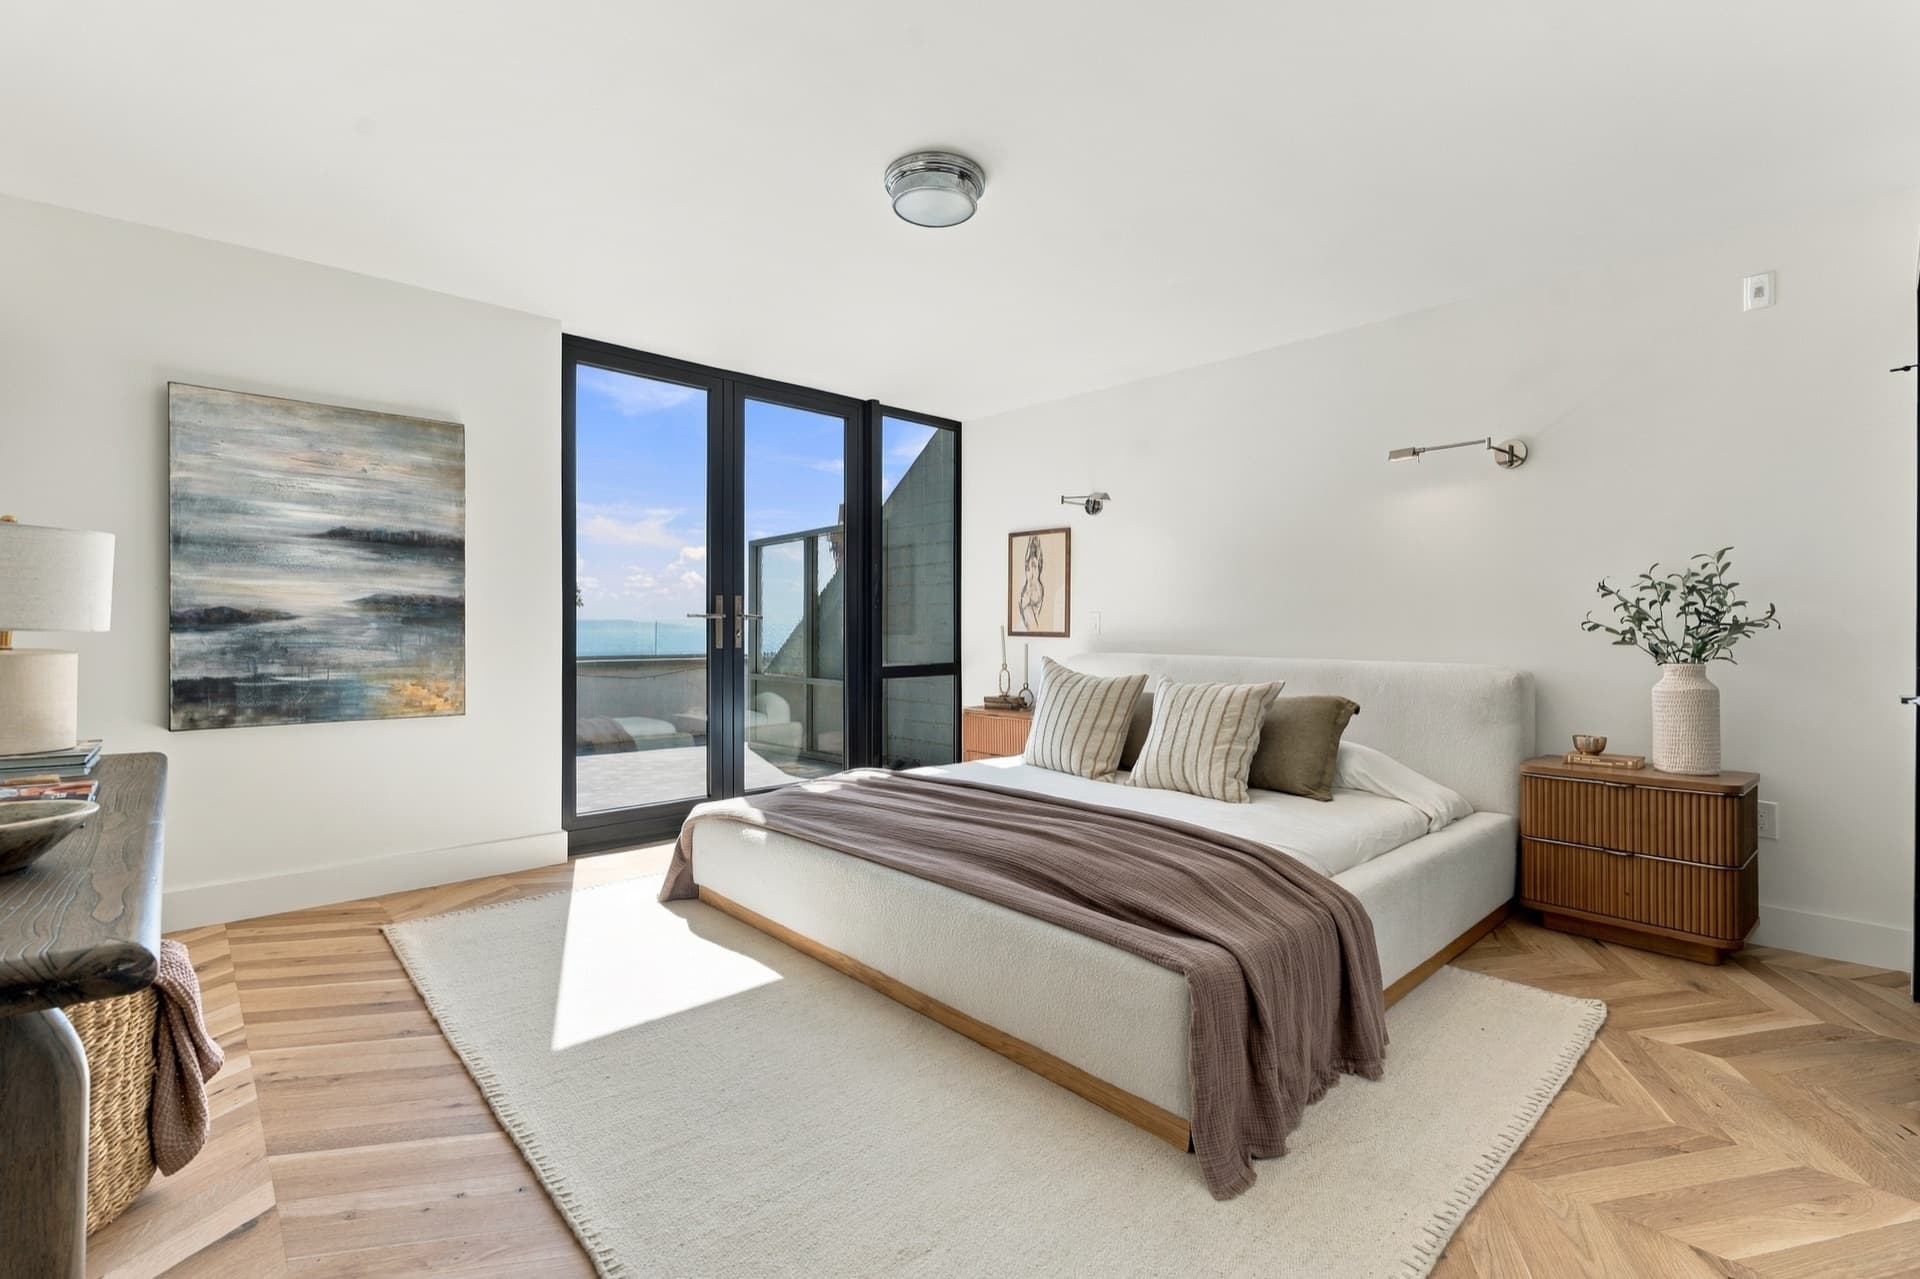
Is every important space here? Walk through the home in your head, or follow the floor plan if you ordered one. Every bedroom, every bathroom, the kitchen, the main living areas, outdoor space and key amenities should appear. Most apartments need 20 to 30 photos and larger homes usually need 40 to 50. If you are not sure the set is complete, compare it to the shot list in How Many Listing Photos Do You Need?.
Does the order tell a story? Put your strongest photo first, then lead buyers through the home roughly in the order they would walk it. Avoid three bathroom shots in a row or a closet in the first ten. Reordering is your job, not a revision, but it is easier once you have every photo in front of you.
How to ask for revisions
Clear requests come back right. Vague ones need a second round. For each photo you want changed:
- Use the file name or number, not a description like "the second bedroom one."
- Say what is wrong and what you want instead. "Remove the phone charger on the nightstand" beats "clean this up."
- Point to a location in the frame: bottom left, on the counter, in the mirror.
- Send everything in one list. Gathering all your notes in a single message makes the turnaround faster than trickling them in.
- Mention any reference photo from the same set if you want a match, like "make the hallway the same warmth as the living room."
If the seller wants to weigh in, share the set with them before you send revisions, not after. One combined round is better for everyone.

Exteriors and twilight shots
Give exterior photos their own look. Check that the sky looks natural, the lawn and hedges look even, and any pool or landscape lighting is actually visible. In dusk shots, interior windows should glow warmly without looking orange or blown out.
If an exterior just did not come out right because of weather or timing, editing may not be enough. Our guide to the best time of day for listing photos can help you plan a reshoot of the front of the home.
Your final pre-publish checklist
Before you hit publish, run through this once more:
- Verticals straight and horizons level in every photo
- Windows show the view where it matters
- Color and brightness consistent across rooms
- No personal items, reflections or stray clutter
- Every bedroom, bathroom and main space covered
- Strongest photo first, logical walk-through order
- Virtually staged images labeled as your market requires
- Final check on a phone screen
- Seller has seen and approved the set
Fifteen minutes of review protects the first impression your listing makes, and with unlimited revisions included there is no cost to getting every image right.
Book the shoot
Ready to list? Browse our services for photography, video, drone, floor plans and virtual staging, then book your shoot online. Your edited photos will be ready for review in as little as 18 hours.