· 2 min read
How to Prepare a Home for Listing Photos: A Room-by-Room Checklist
The best listing photos are made before the photographer arrives. An hour of preparation the day before a shoot does more for the final images than any amount of editing afterward.
Share this checklist with your sellers or tenants a few days ahead.
Everywhere
- Turn on every light, including lamps and under-cabinet lights, and replace any dead bulbs.
- Open the blinds and curtains fully, unless the view is a brick wall.
- Clear the floors. Shoes, bags, pet bowls and cords all show up in wide shots.
- Hide personal items: family photos, mail, medication, and anything with a name on it.
Kitchen
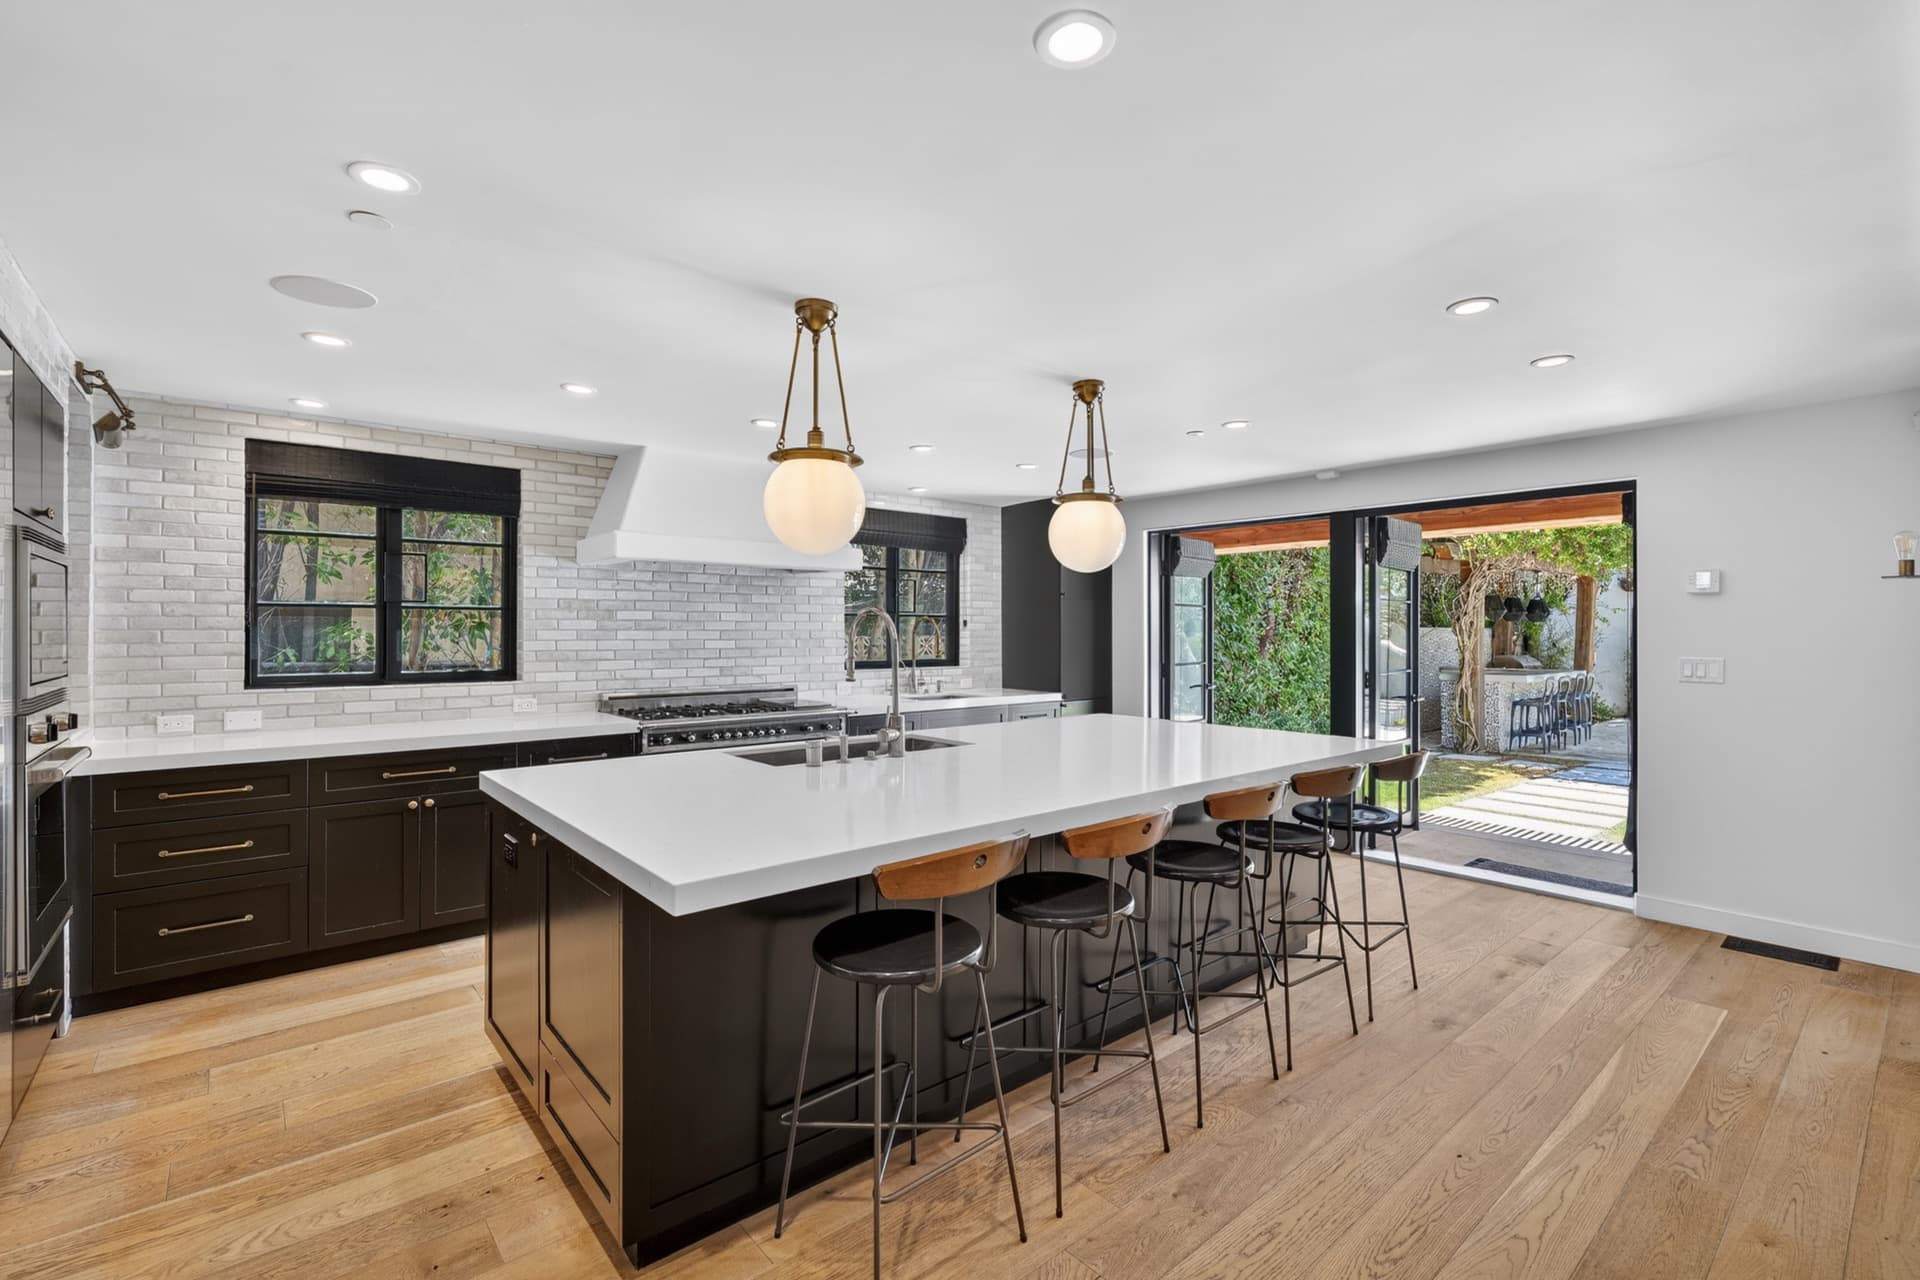
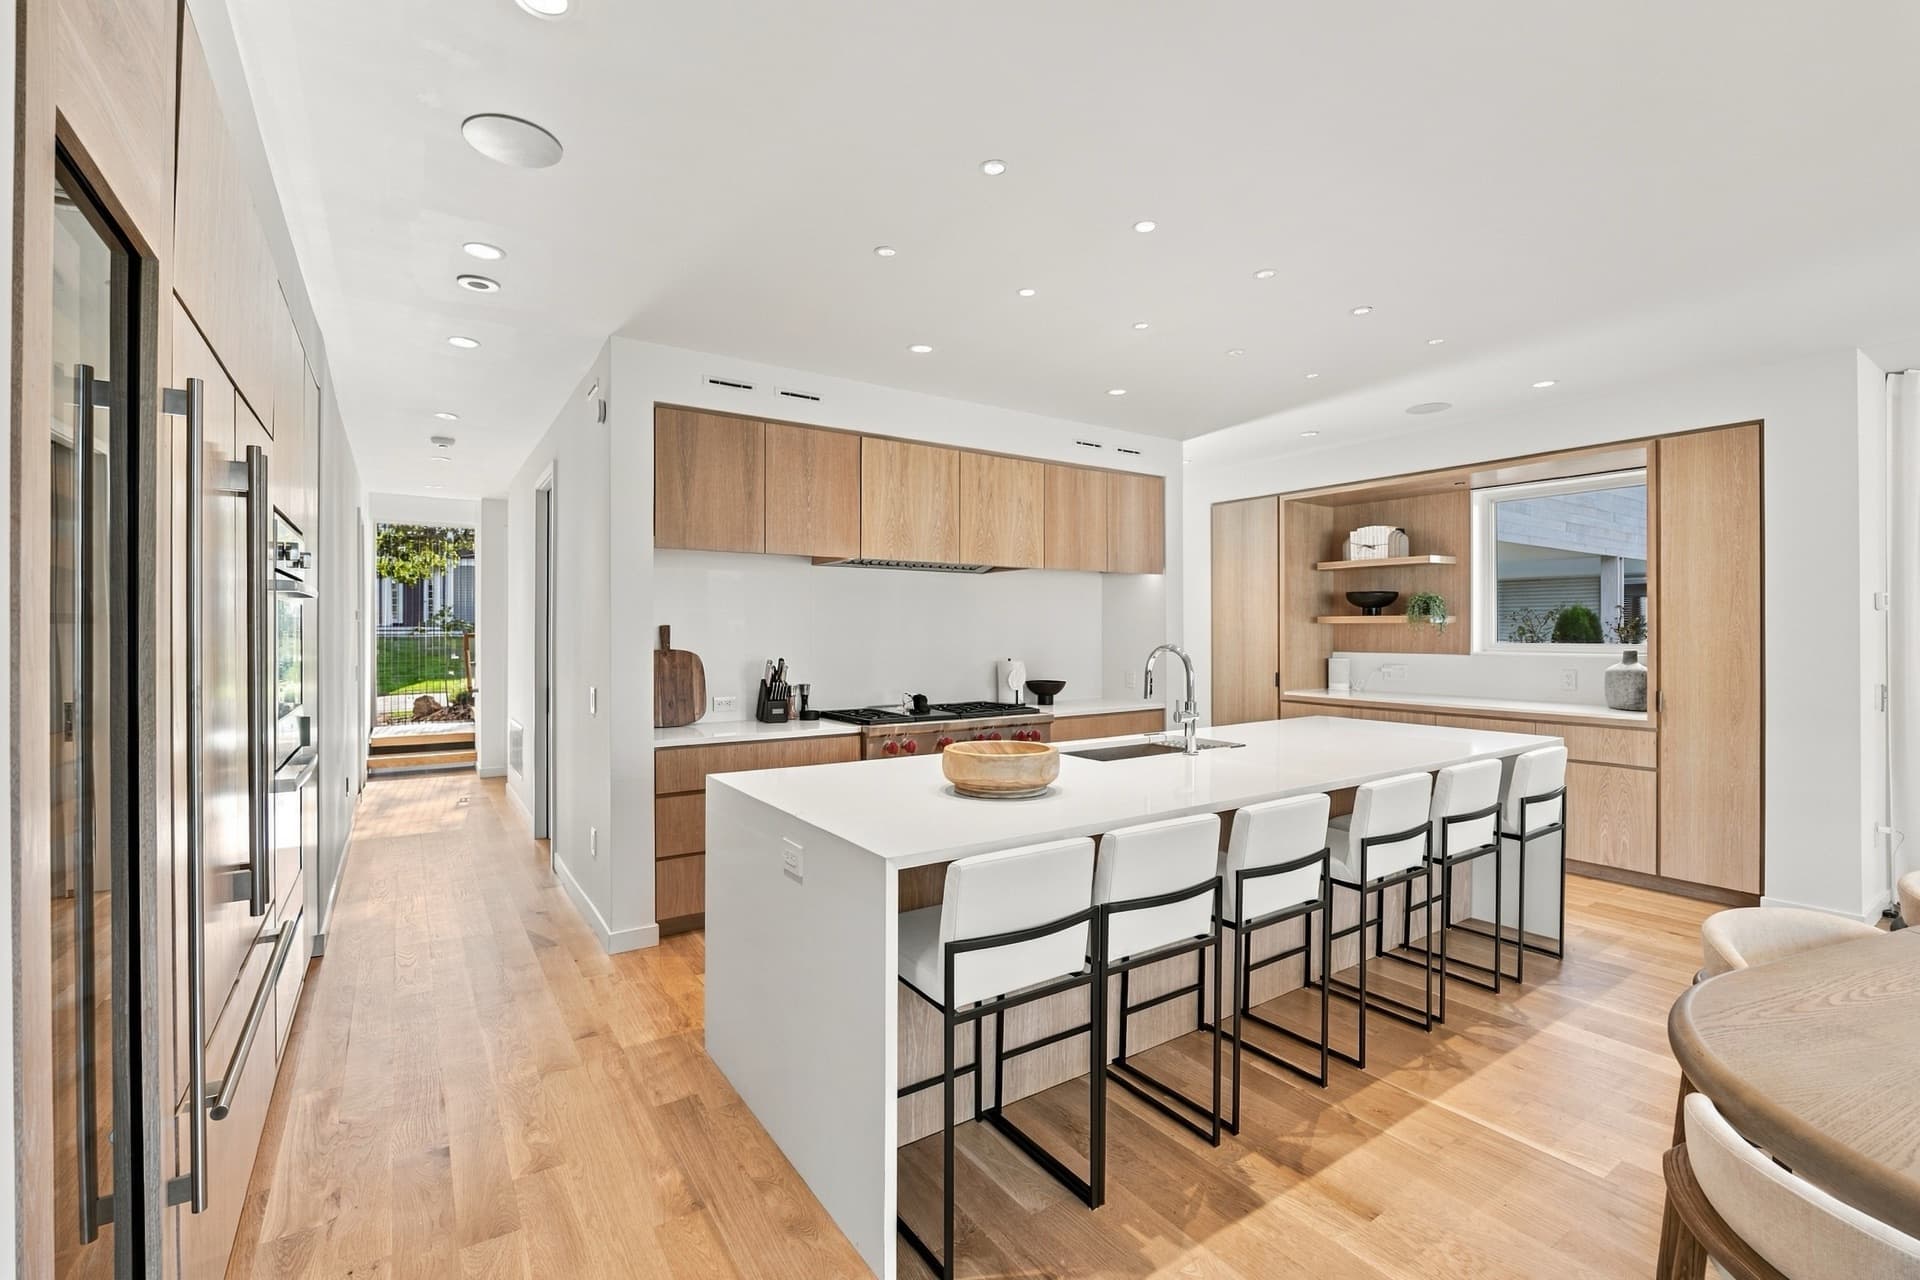
- Clear the counters almost completely. Leave one or two intentional items, like a bowl of fruit or a plant.
- Remove dish towels, magnets and papers from the fridge.
- Put away the trash and recycling bins.
Living and dining rooms
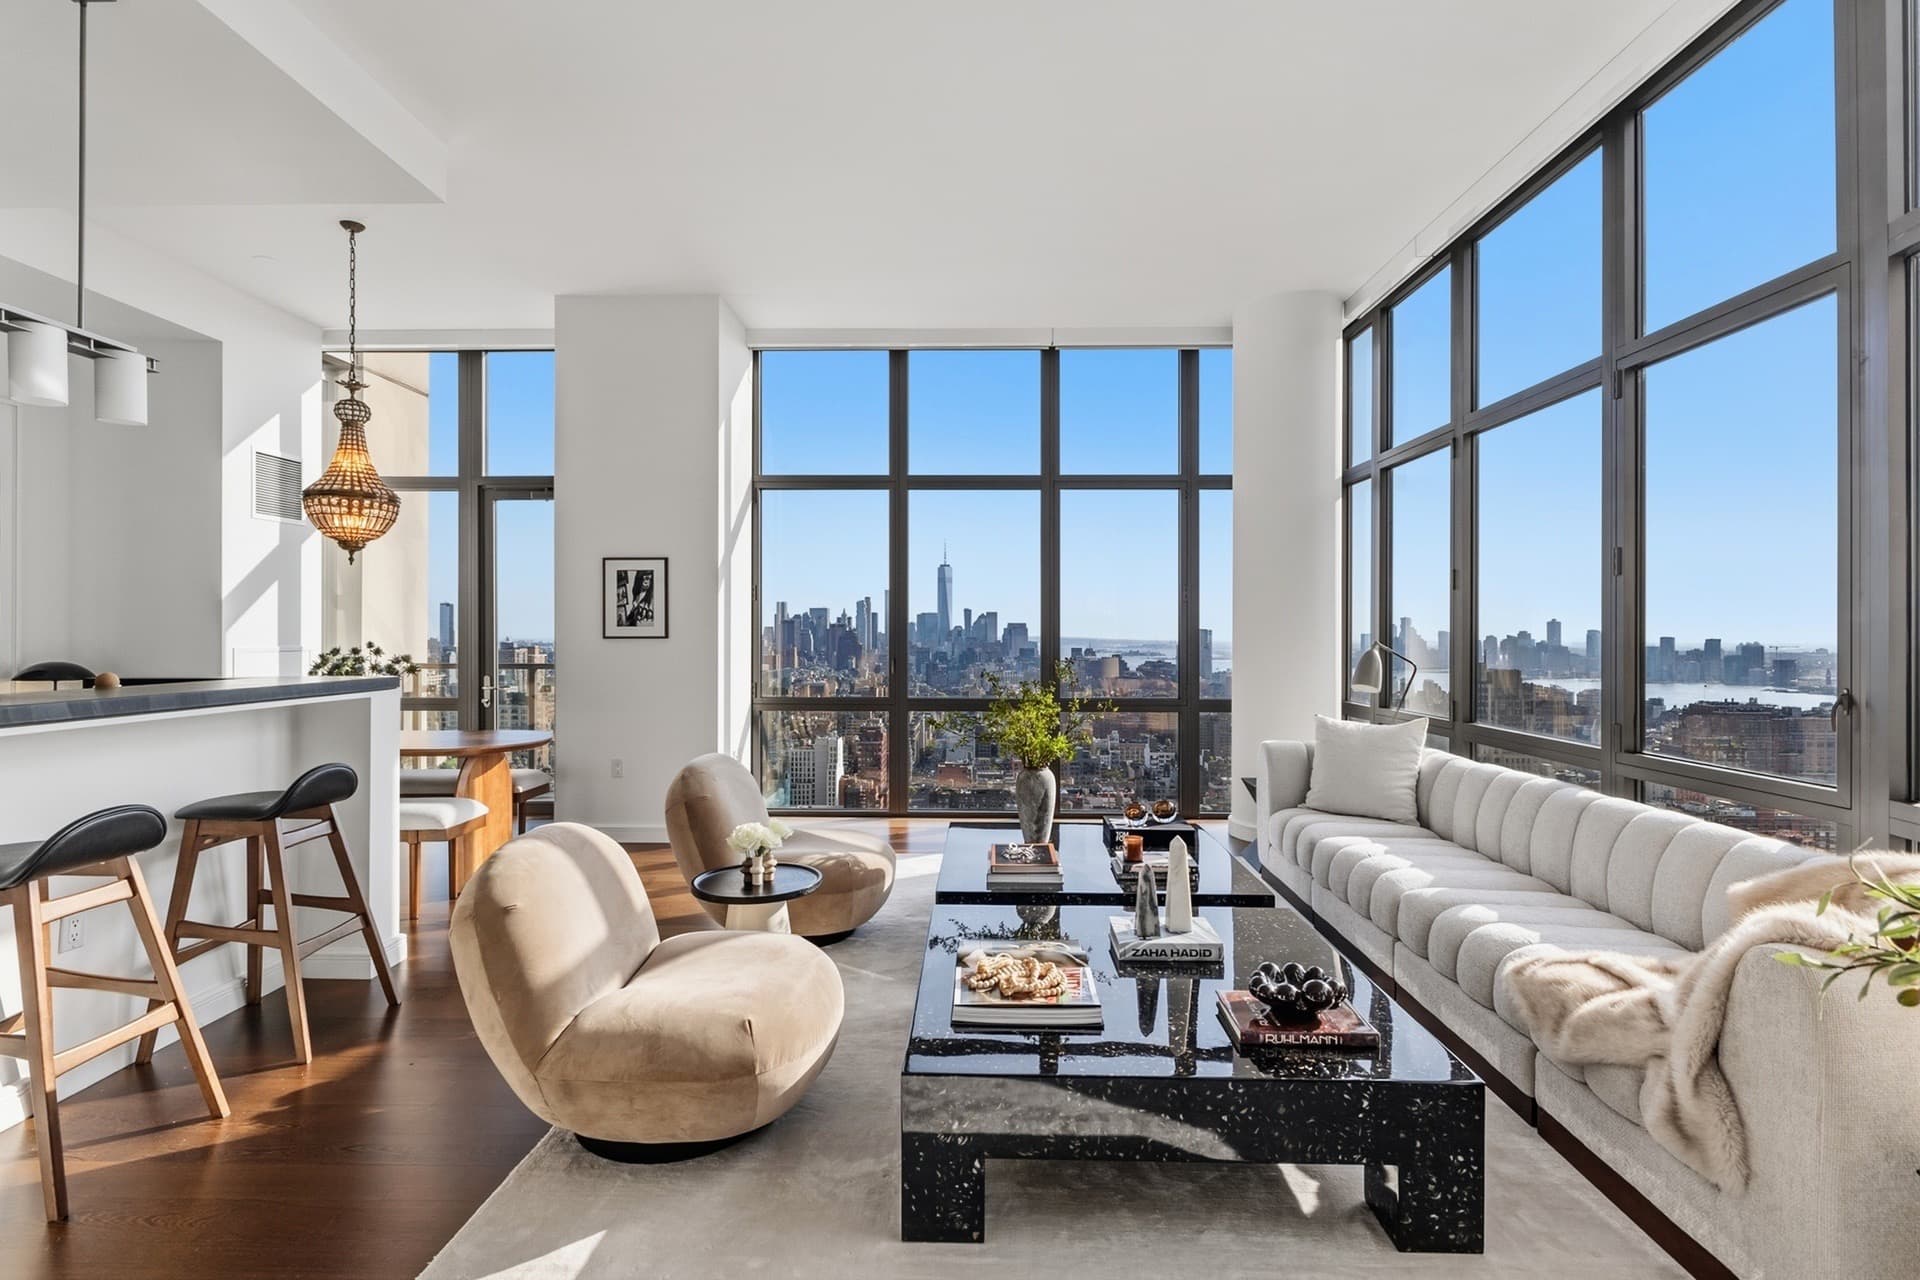
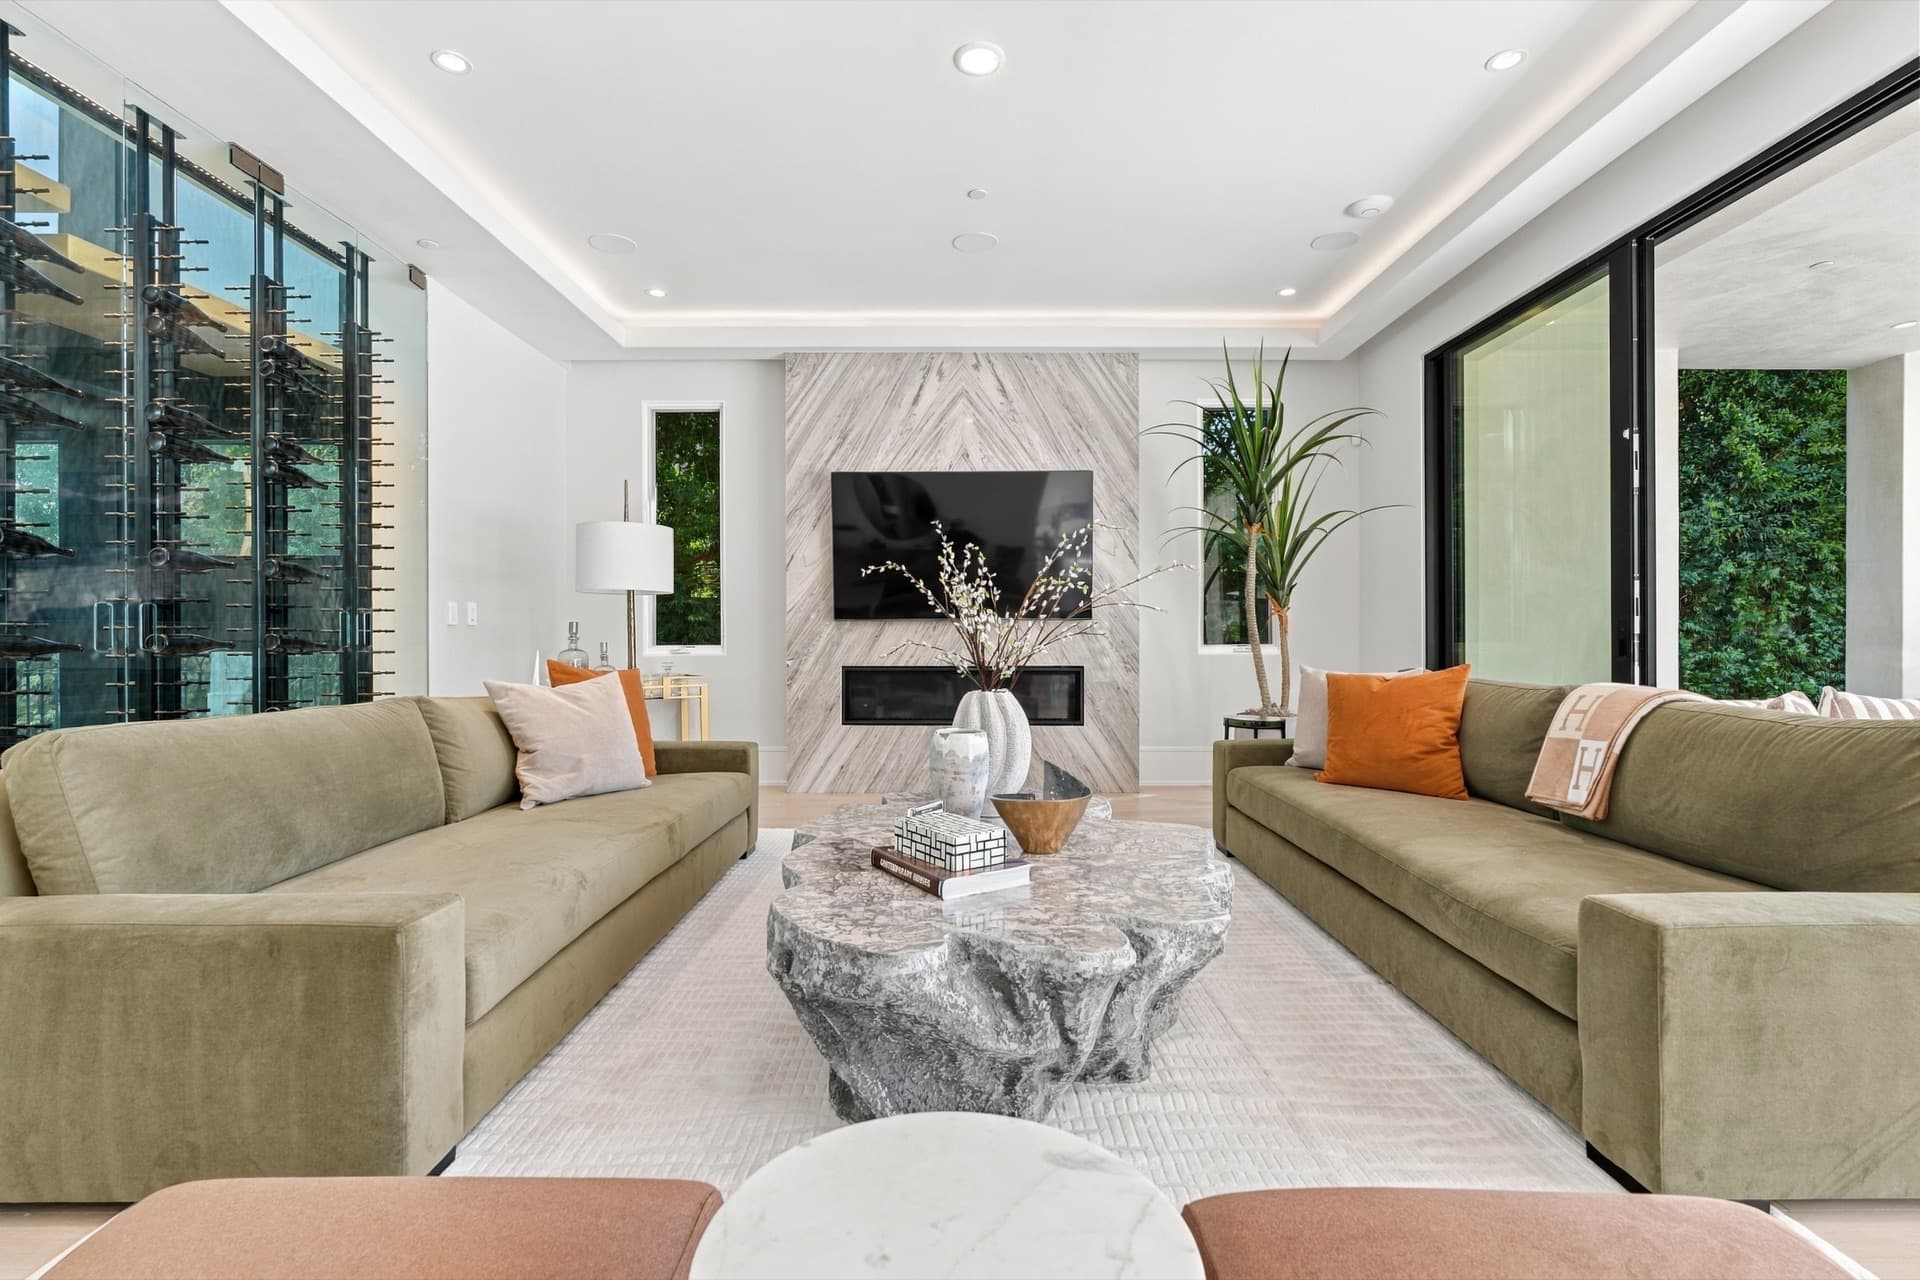
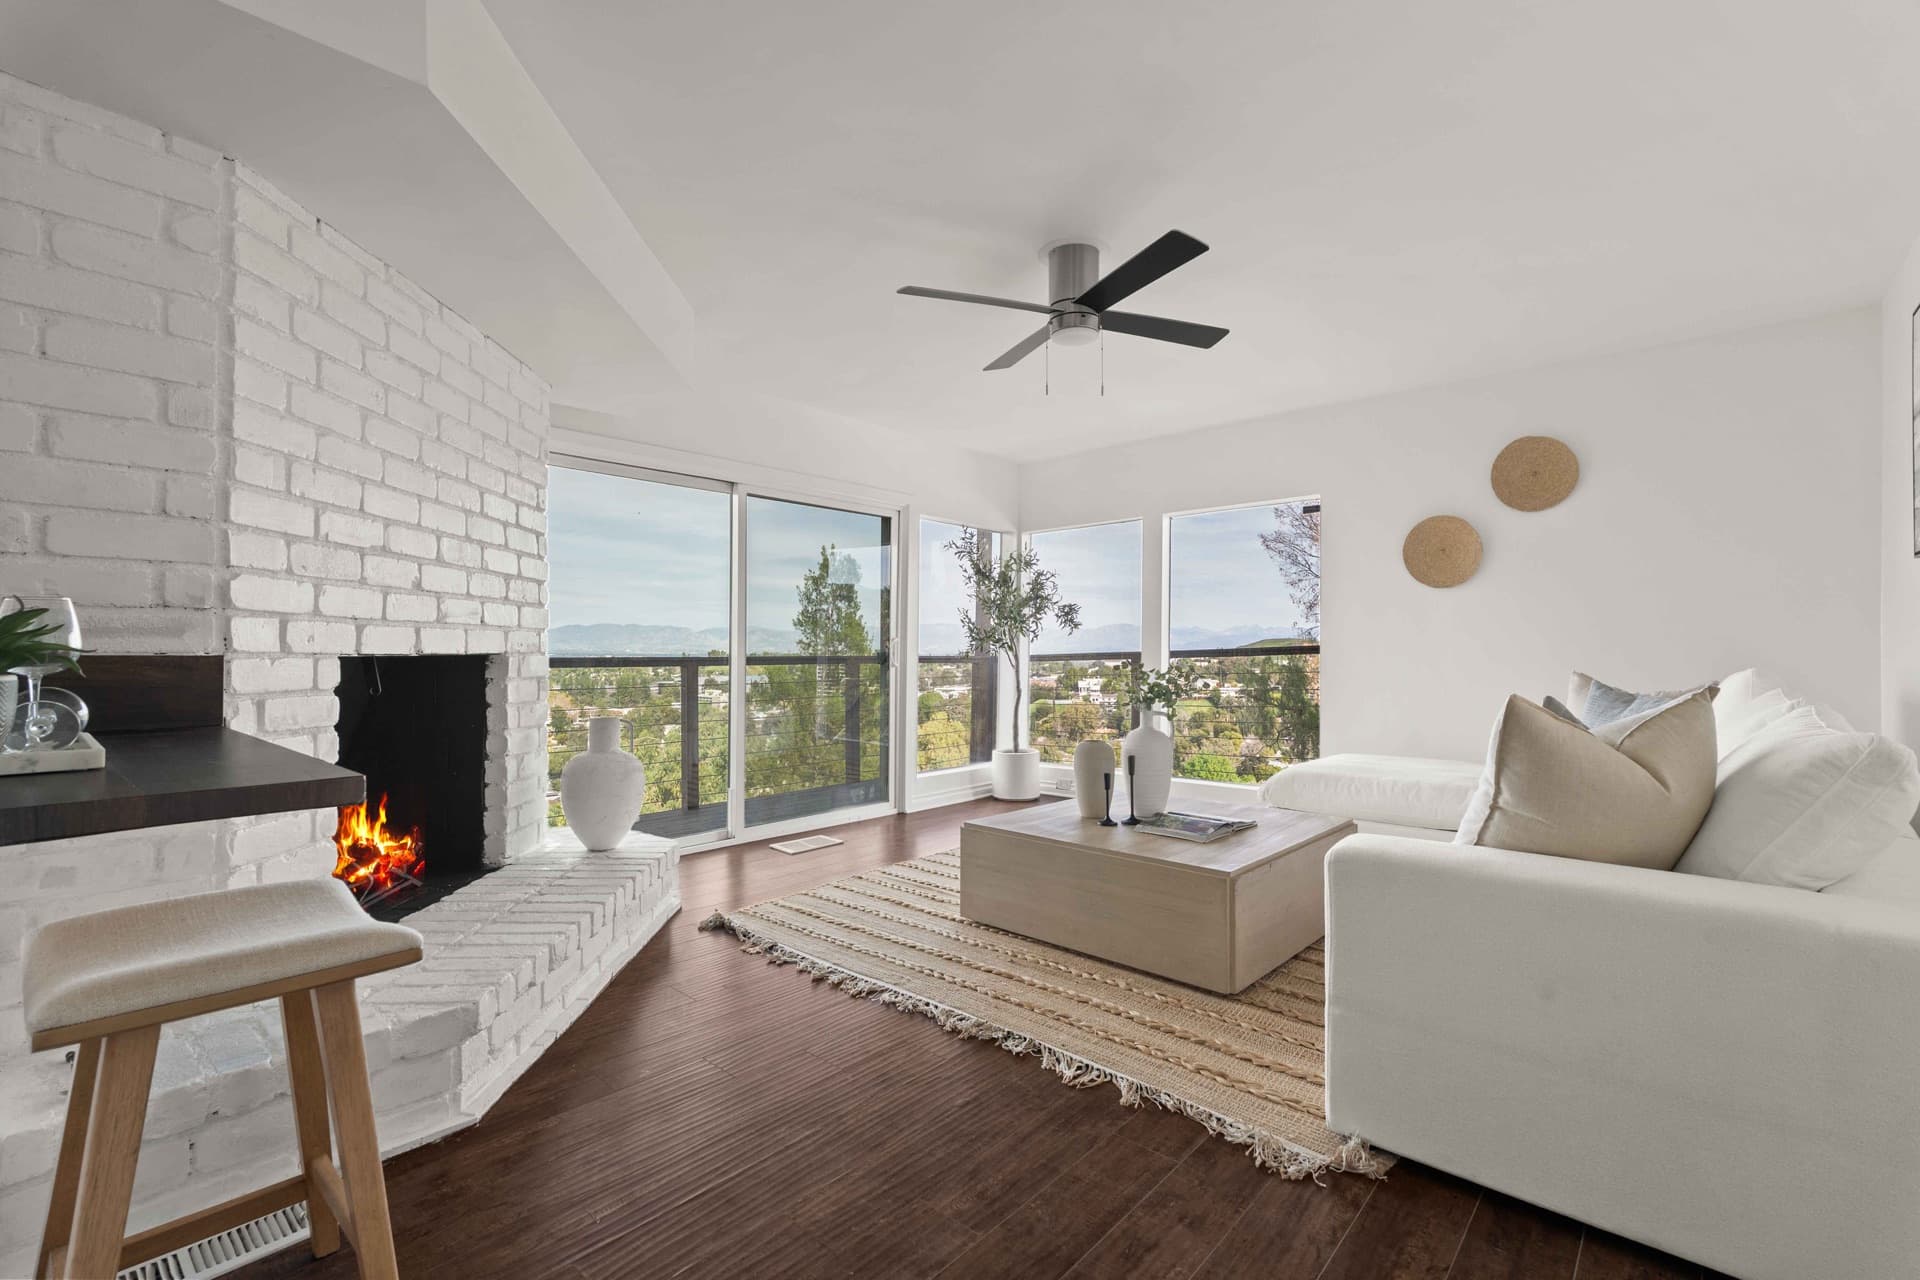
- Straighten cushions and fold throws neatly.
- Clear the coffee table down to one or two objects.
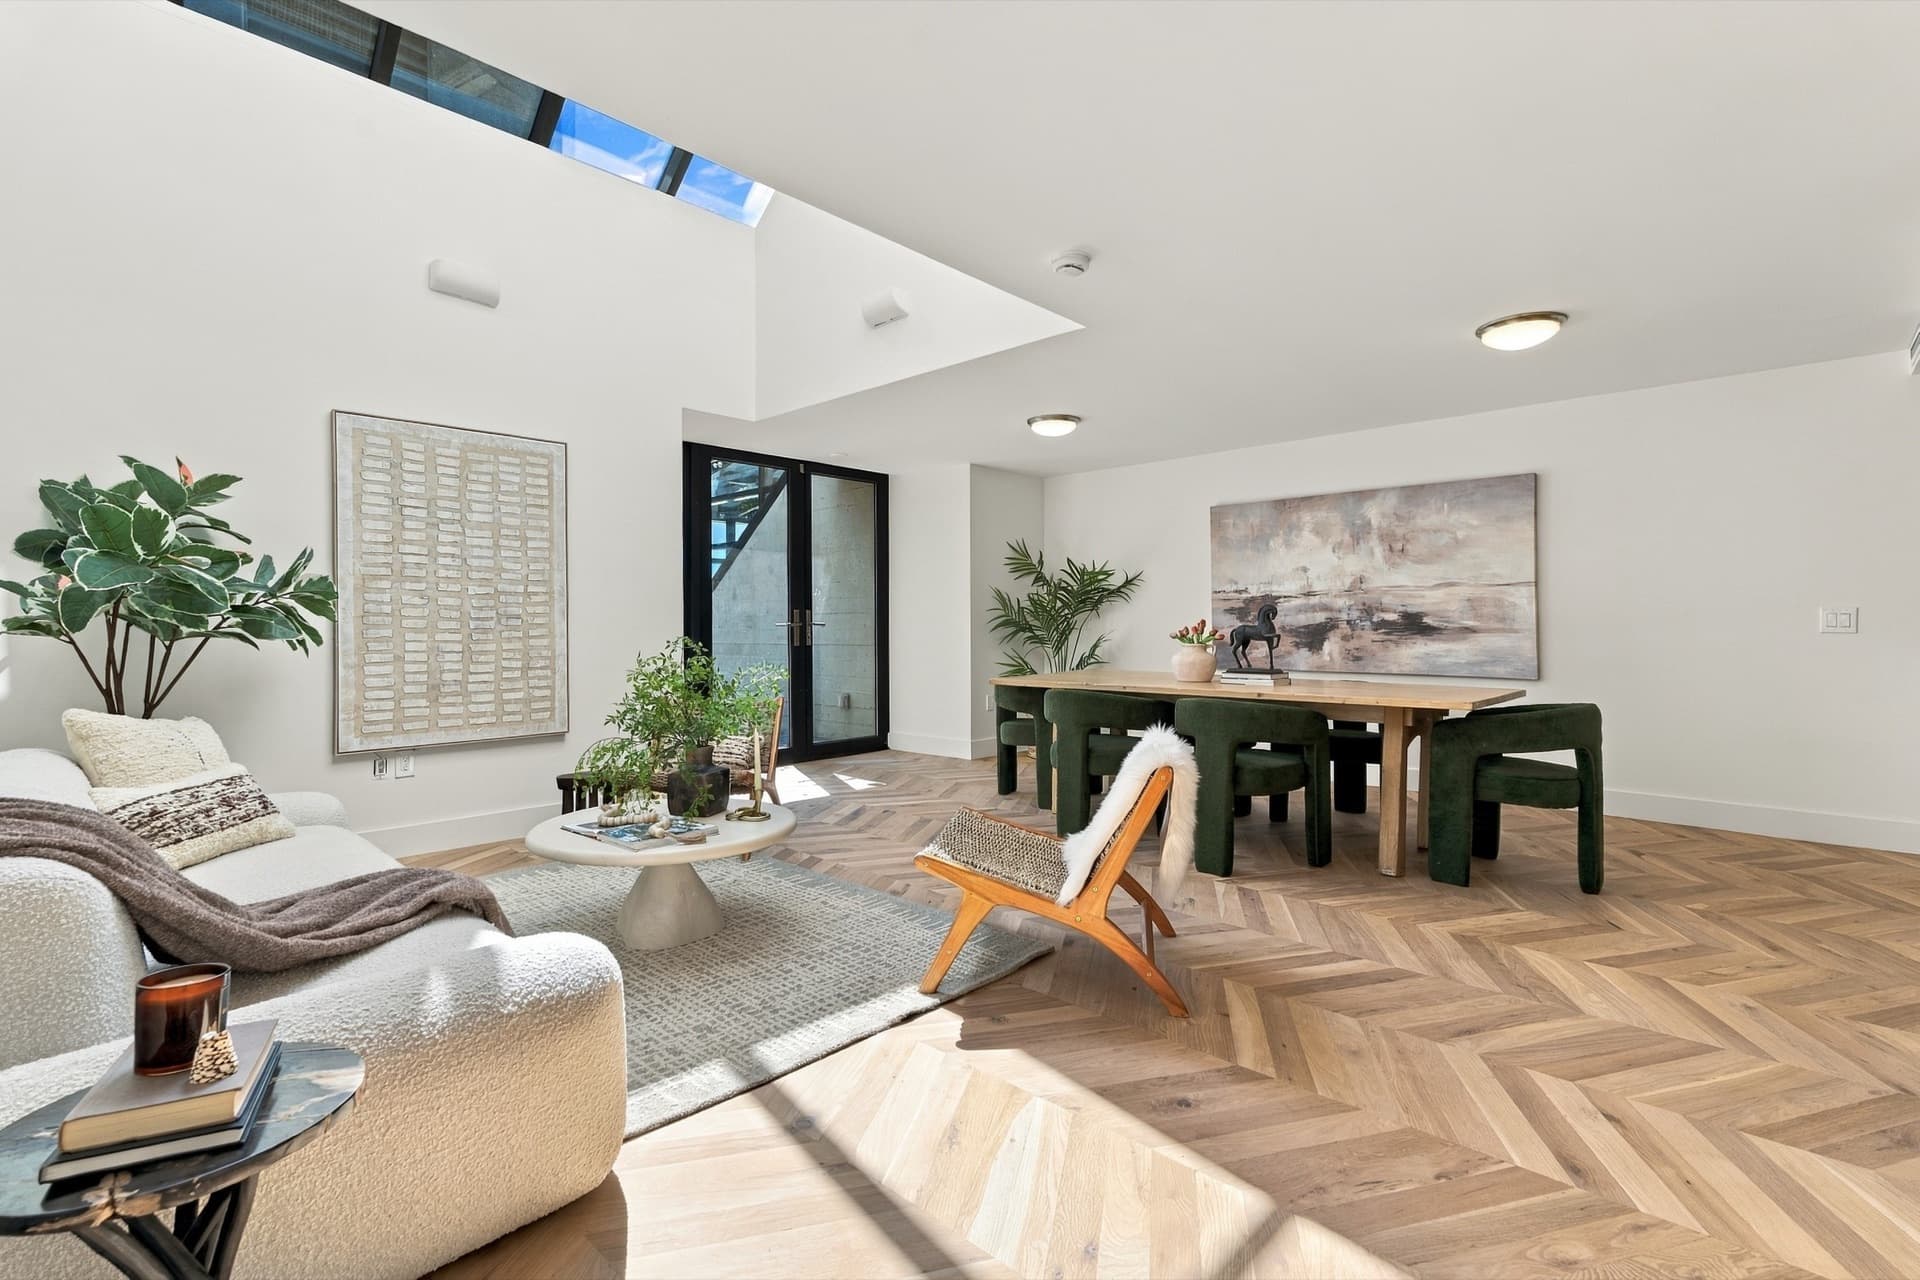
- Set the dining table simply, or leave it clear.
- Turn off TVs and hide remotes and game controllers.
Bedrooms
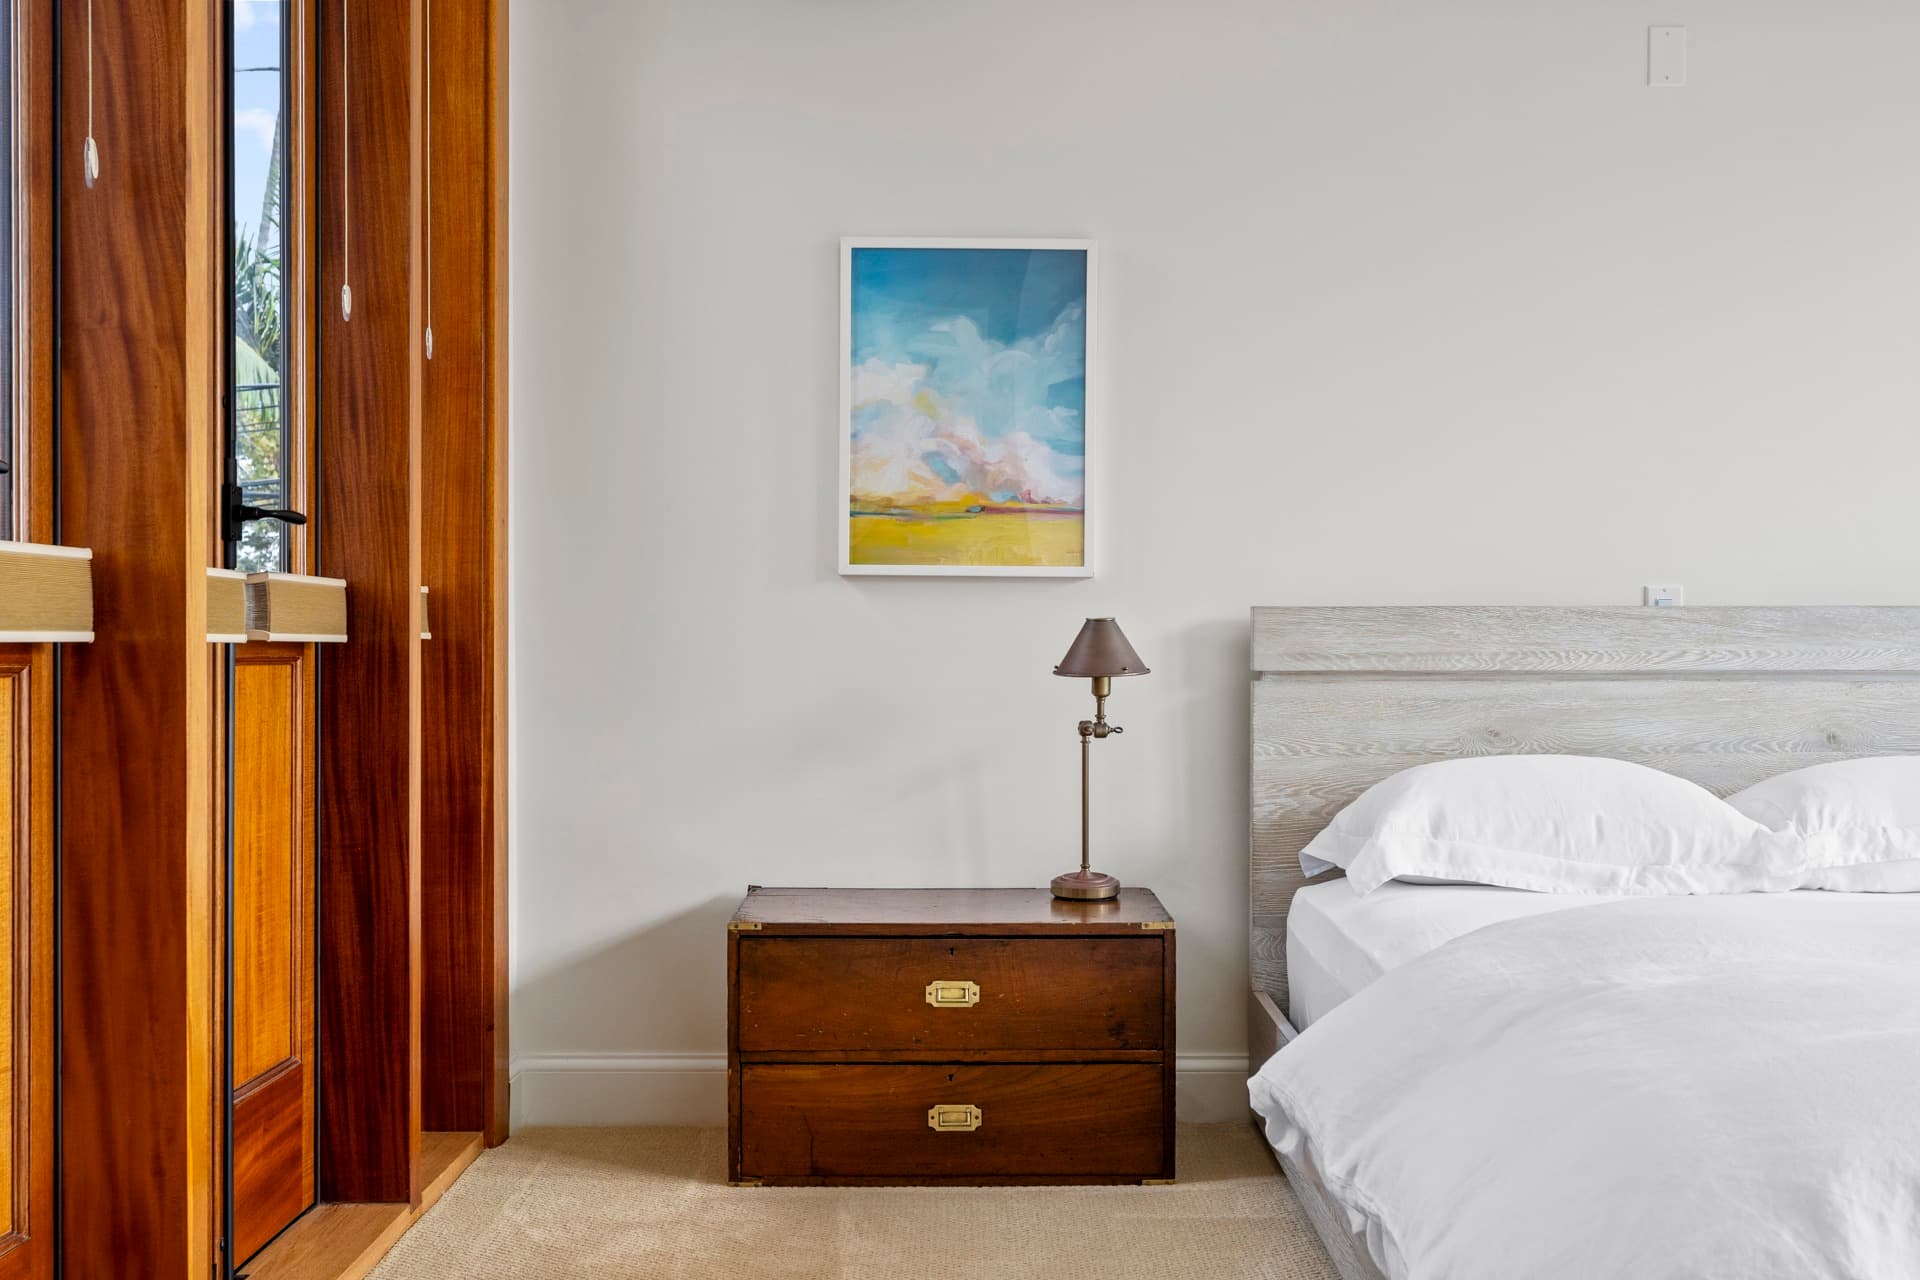
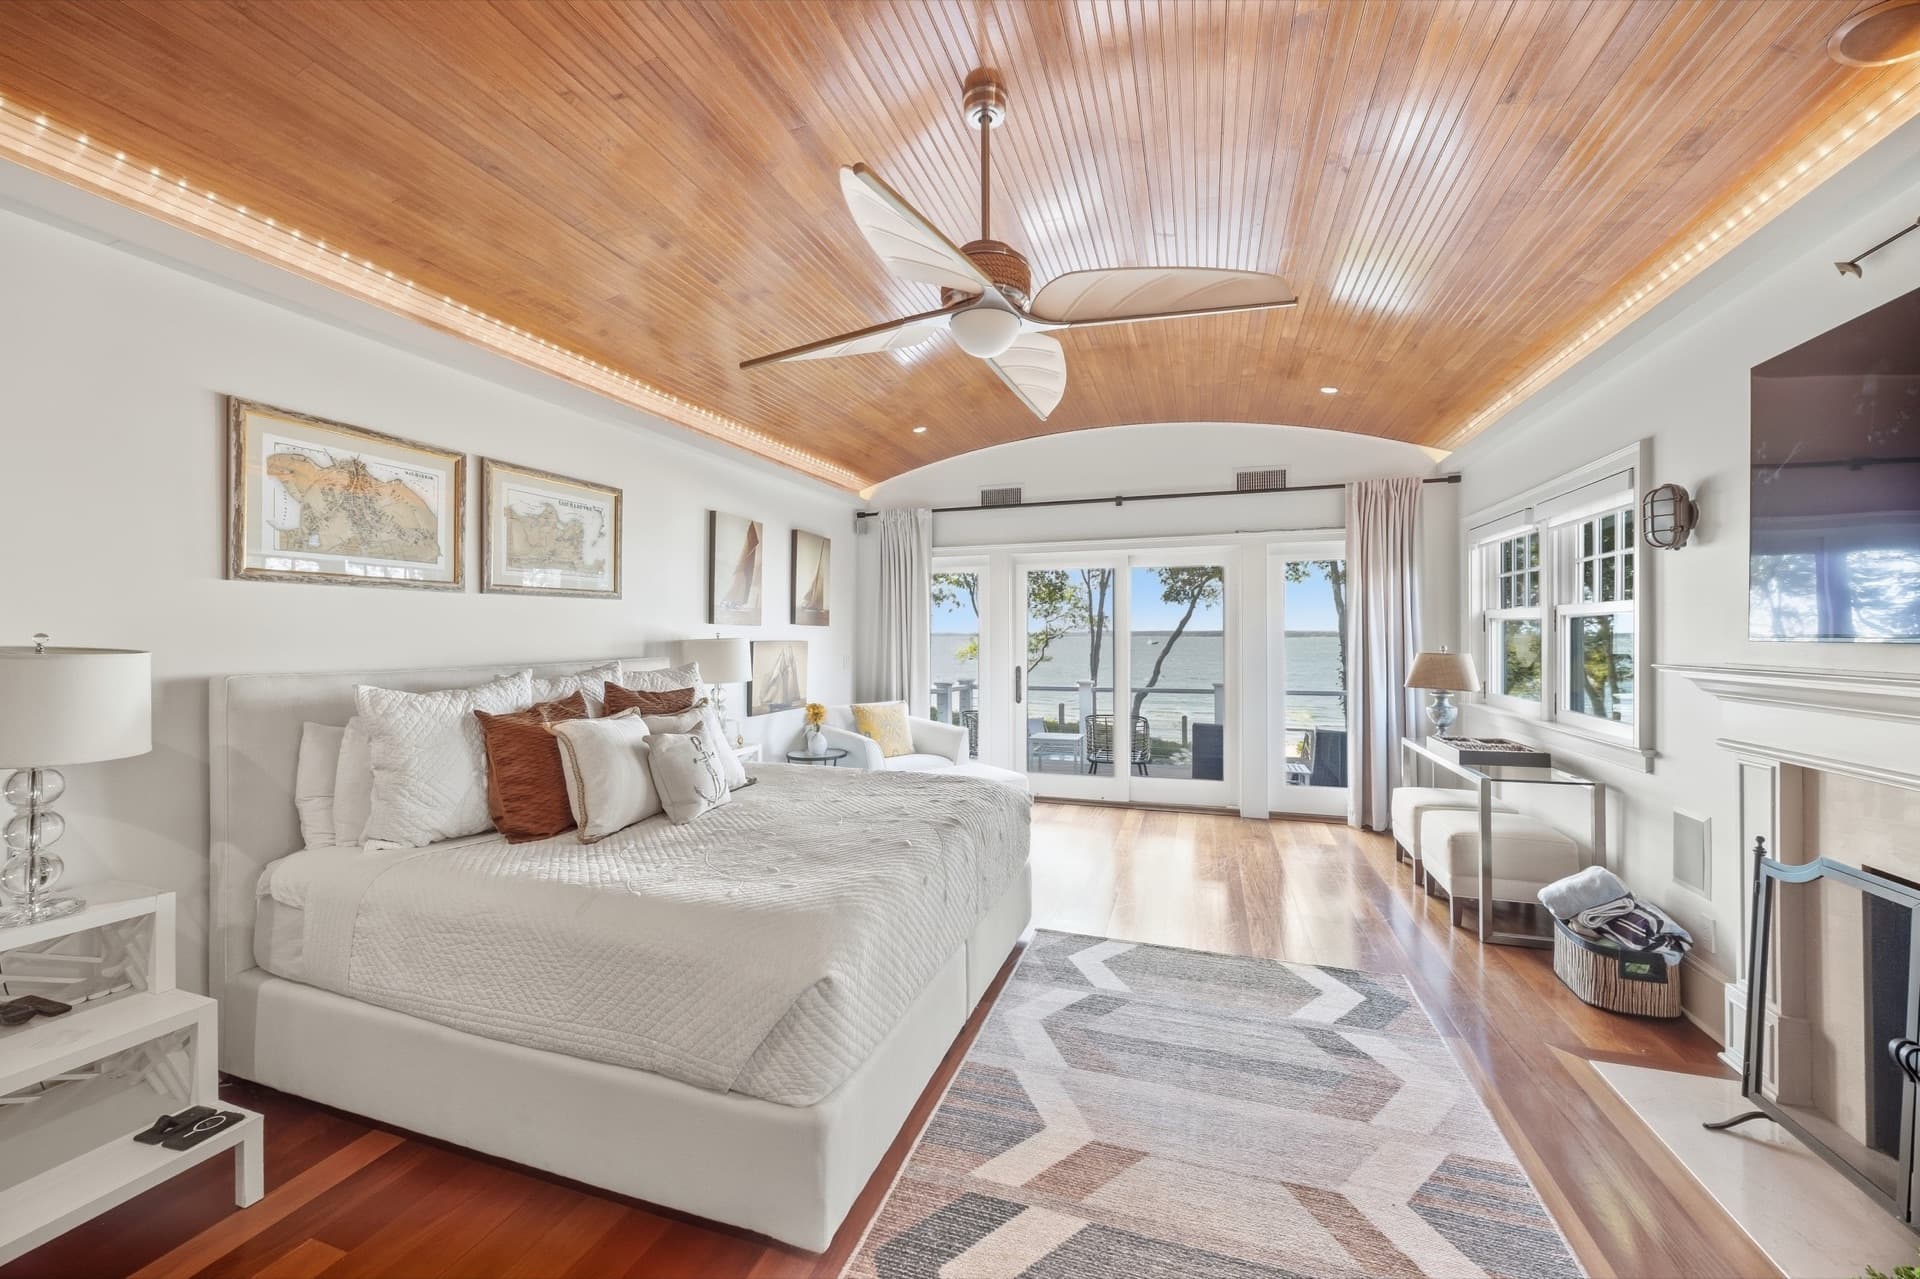
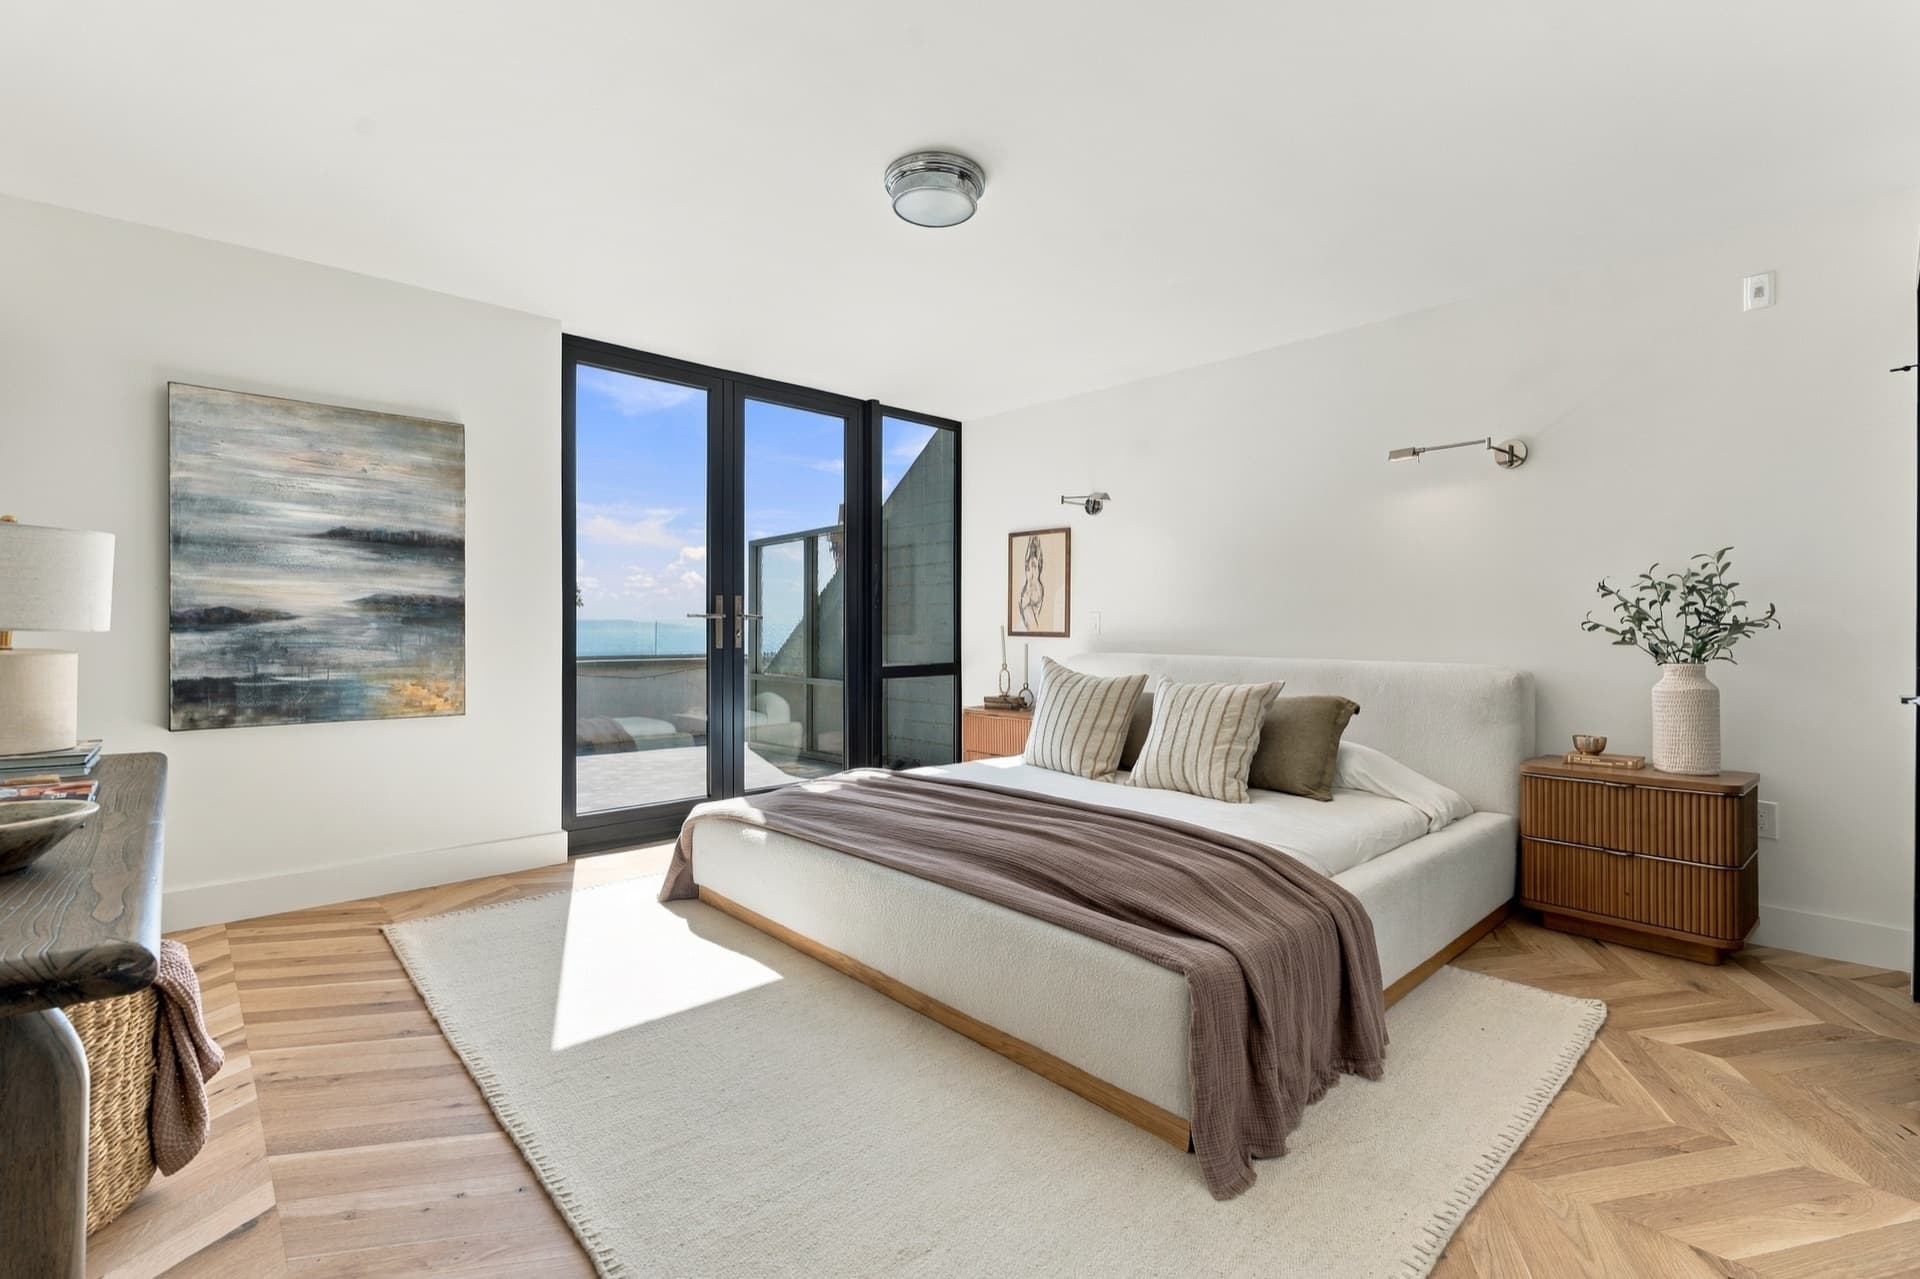
- Make the beds with smooth, neutral bedding.
- Clear nightstands down to a lamp.
- Close closet doors and put away laundry.
Bathrooms
- Remove toiletries, toothbrushes and razors from every surface.
- Hang fresh towels, or remove them entirely.
- Close toilet lids and remove bath mats.
Outside
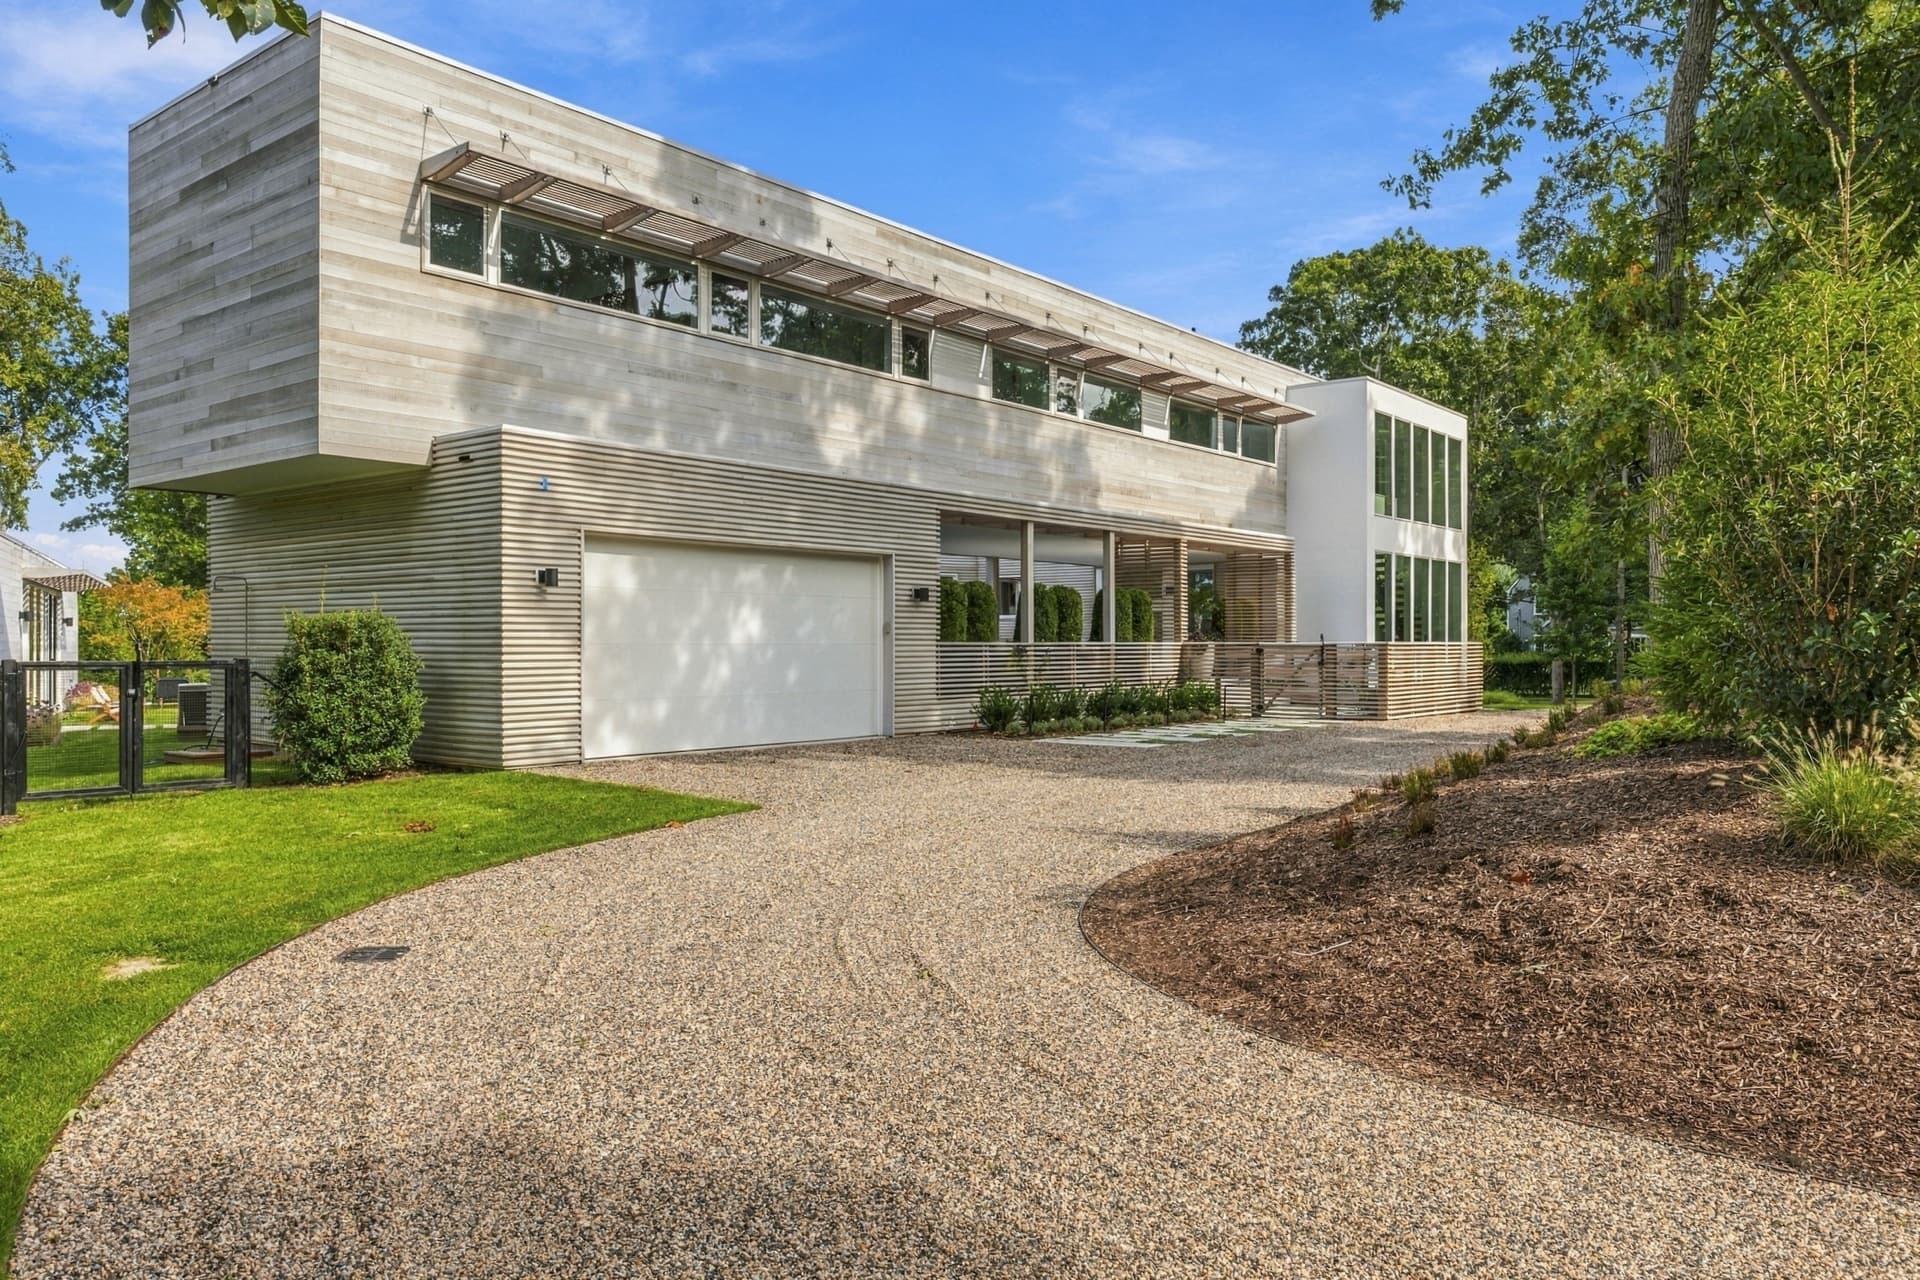
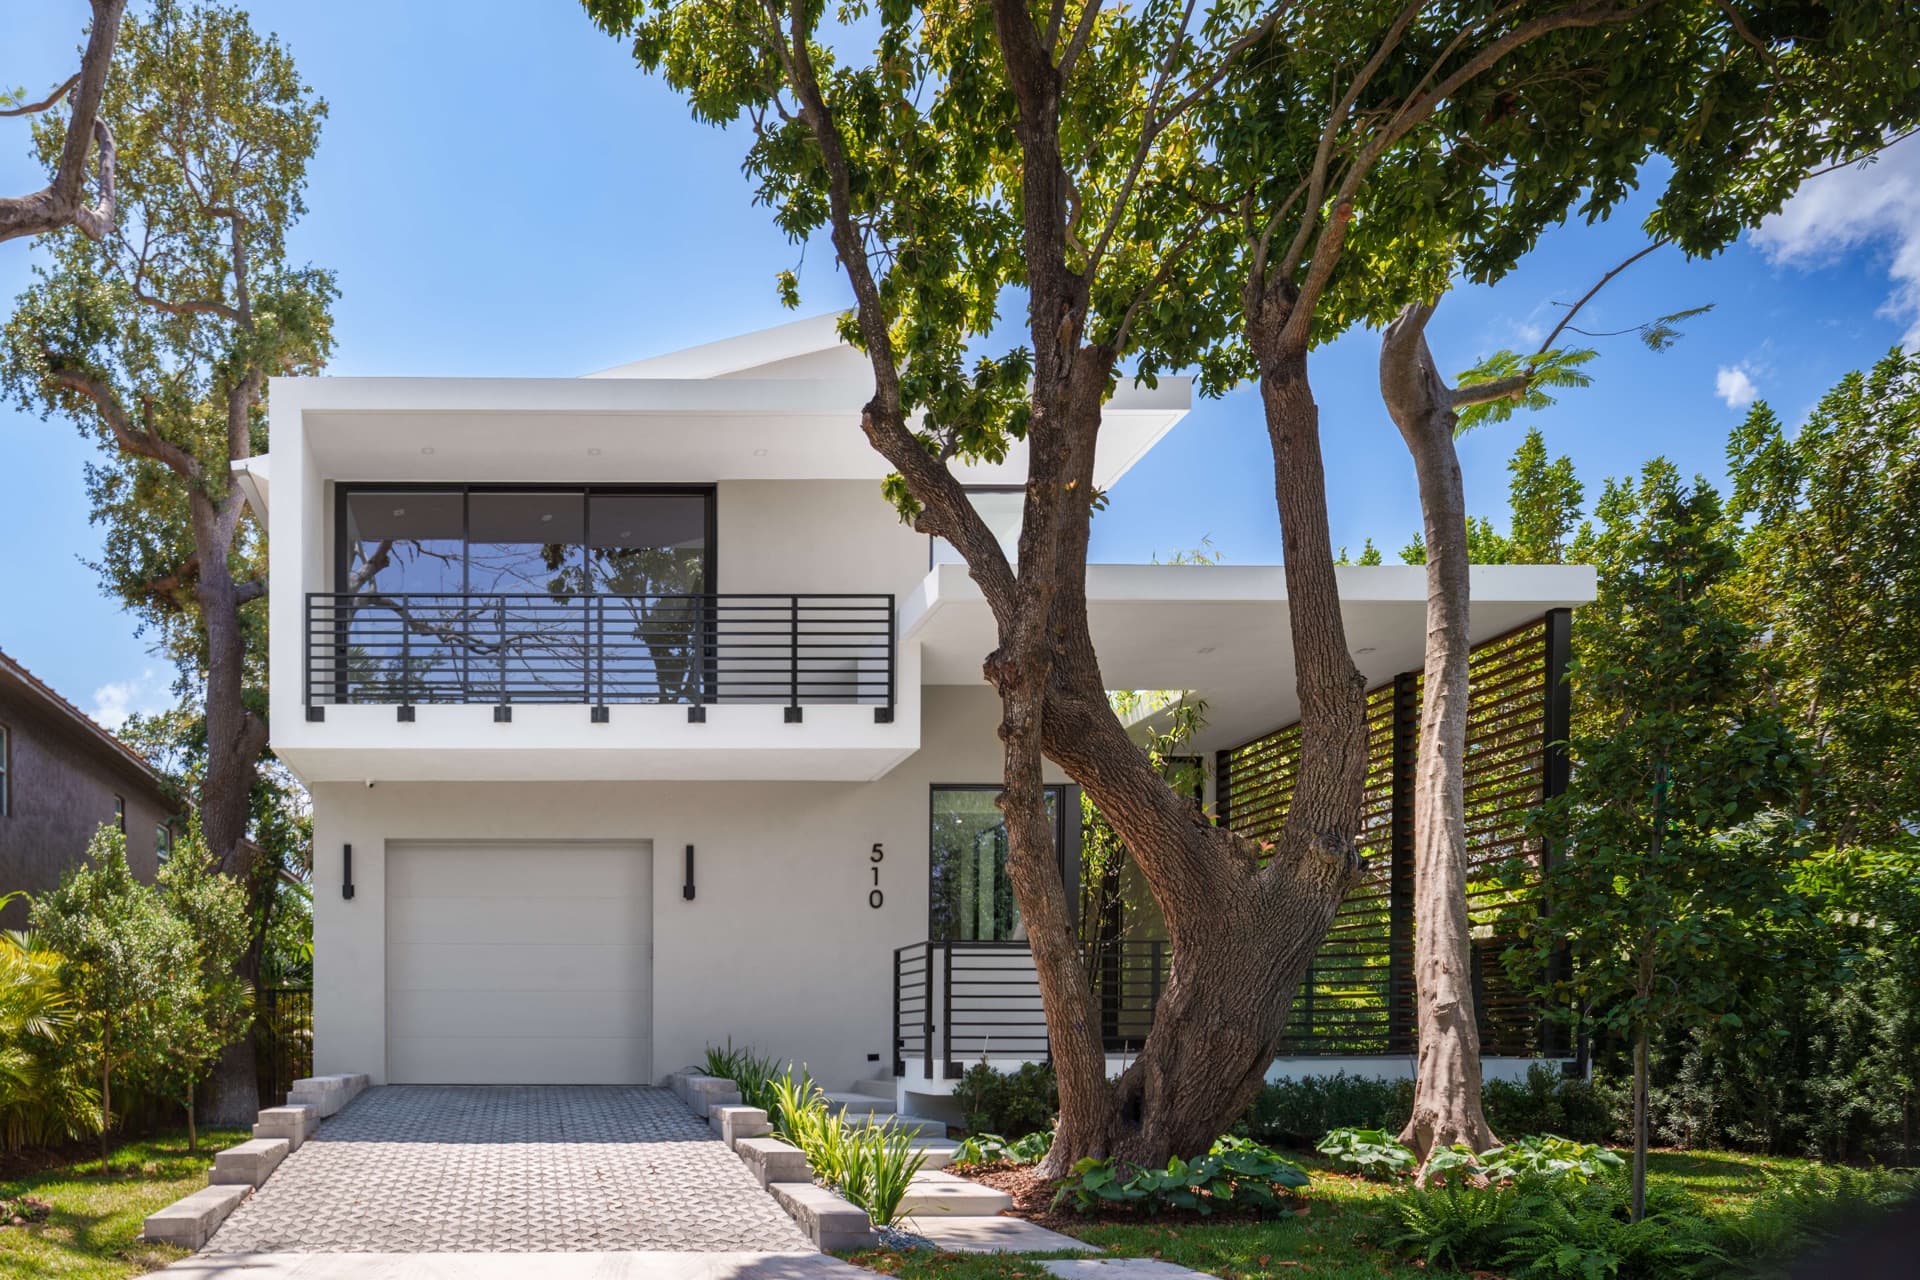
- Move cars out of the driveway and off the street in front of the house.
- Put away hoses, toys and trash bins.
- Mow, sweep the walkway and set out the patio furniture.
On shoot day
Plan for the home to be empty of people and pets during the shoot. A home that's ready when the photographer arrives means a faster shoot and less disruption for the people who live there.
If the home is vacant, consider virtual staging so buyers can picture the space furnished. Next week, we'll cover which add-ons are worth it for different kinds of listings.
Ready to schedule? Book a shoot with Dooorbell.